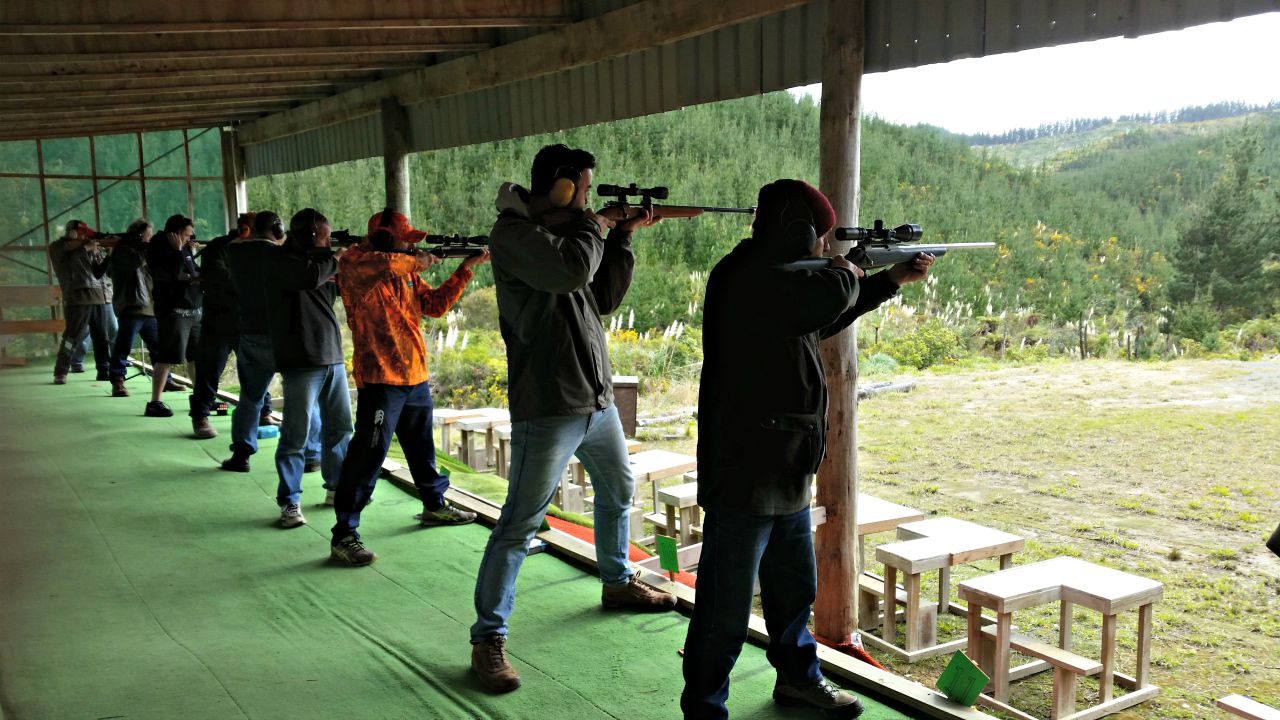
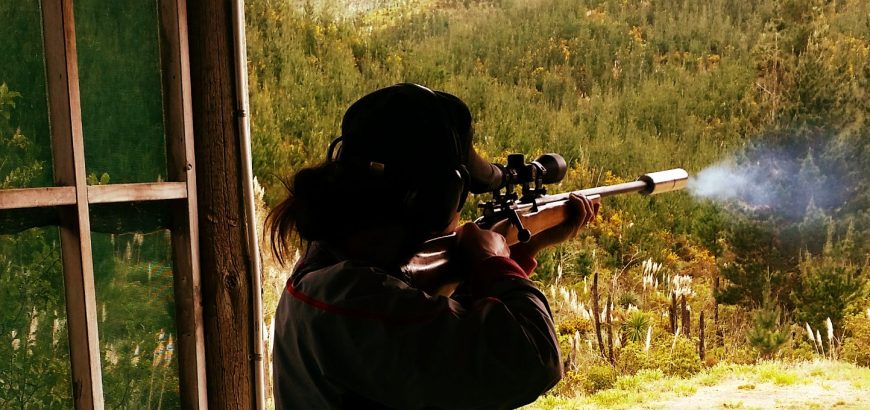
If I had a range like this in my back yard, I may divide my time slightly differently.

Swiss 300 metre shoot – Any Sights Any Rifle

There are a few centrefire rifle events every year that are just thoroughly enjoyable and worth attending. The Auckland NZDA Prize Shoot is one, as is the Thames NZDA shoot. The Hangiwera Station Sniper Shoot is definitely up there, and so is the Swiss Club’s Any Sights Any Rifle 300 metre shoot.

This year was my first shoot at the Swiss Club, although some of my shooting buddies have been going for years, and I attended on their recommendation.

An enjoyable shoot

The shoot is well organised, and is accommodating for younger or inexperienced shooters. There are club rifles available and the RO is very helpful with sighting in. The club rifles are either straight-pull Karabiners (K31s), chambered in the venerable 7.5×55, or modern semi-autos in 5.56 NATO/.223 Remington.

If you’re bringing your own rifle (as most do), you can use anything you like. If you’re really ambitious, you can try your open-sighted SKS and see what it will do at 300, but you’ll be going up against Bench Rest rifles that hit 10.1 more often than not. Most rifles on the day were a mix of F-Class, BR, sporting and service rifles. Because there is such a variety of shooters and equipment, it’s more likely that you will be competing amongst your group of friends than with the top of the table – unless you’re an excellent BR shooter.

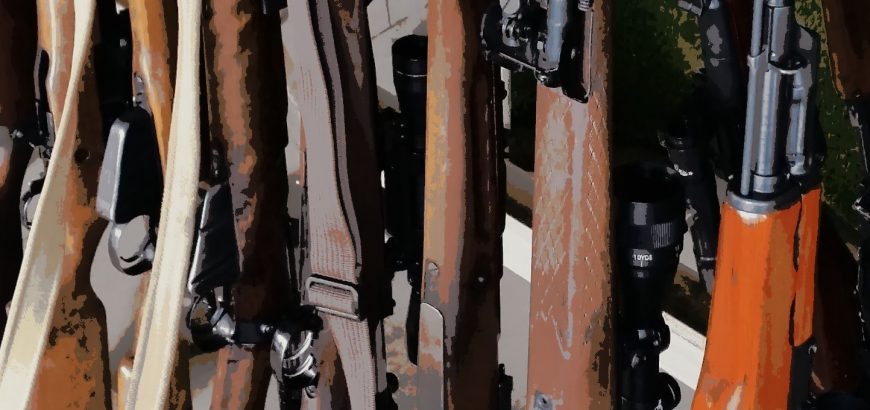
The variety of rifles on the range is a joy in itself.

Although I knew there was no way I could beat the top BR shooters with my modest sporter, this did not diminish my enjoyment of the day at all. I’m pretty competitive by nature, but found myself comparing my scores to my wife’s and those of the other Howick shooters. It also meant I got to see a bunch of really cool guns that you wouldn’t usually see in one competition.

Three-hundred metres is a pretty challenging distance if you haven’t shot past a hundred before. There were even a few who had not shot at all before. However, with the help of the club’s rifle master, these young shooters were hitting paper in no time.

The cost of the shoot is not prohibitive, with a range of $20 on the day, and of the cost of 25 rounds of ammo. The Swiss Club has a really good website for the ASAR shoot, which lets you book your position on the mound ahead of time. With several details across a few days of shooting, you’ll definitely find a time to shoot, and you may even try and better your score on another day.
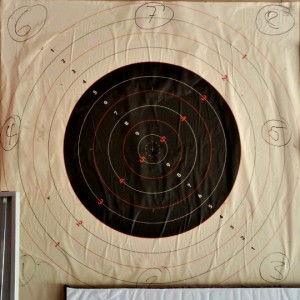
Swiss Club target.
Swiss Club target.

The format

The shoot starts with 5 individual sighters. Each shooter on the line takes a single shot from the prone position (all shooting is prone), after which the targets go down and the scorers call back the score and location of the round to the RO via radio. A notepad and pen are handy, as you try and figure out where your sighters are landing. The shots are called out like “9 at 3 o’clock” or “7 at at 1 o’clock”, with the first number being the score (1-10) and the position on the clock helping you to identify which segment of the target you are landing on.

After you’ve gone through your 5 sighters, there are 10 individual scoring shots, shot in a very similar fashion. Each shot is still called out, helping you adjust your shot placement, especially if the wind picks up downrange.
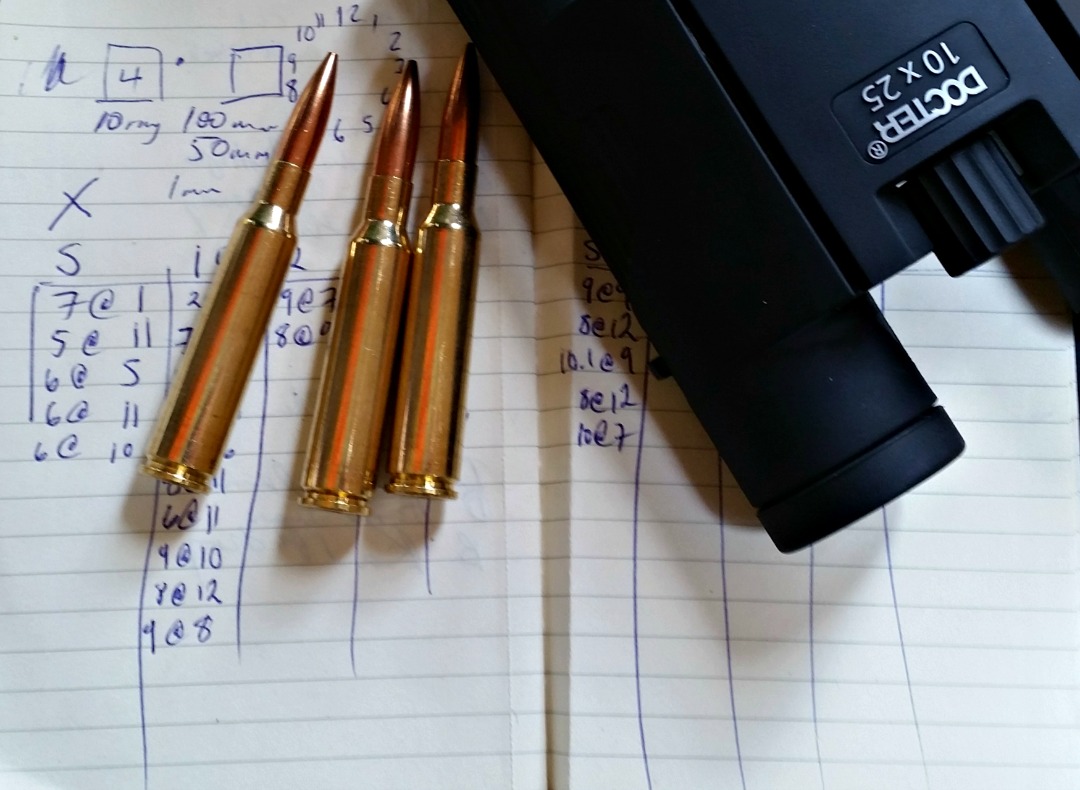
A notepad is essential to sighting in at 300 metres.

After the individual shots, you have “rapid” groups of 2, 3 and 5. I say rapid, but it’s really not. It’s simply a few shots in a row. There is no pressure to hurry up, and there are plenty of people single loading their shots.

All shots are still called out, except for the final group. This means you can adjust your shot placement right up the last minute.

How hard is it to hit the 10 ring? You’ll need to be shooting around MOA (just over) to consistently hit the 10 ring at 300 metres. If you want to notch up a bunch of 10.1’s, you’ll need to be shooting around between 0.5 and 0.66 MOA.

The experience

I thoroughly enjoyed the shoot. I went a bit early to watch some of my mates shoot, but also to familiarise myself with the format and calls. I did end up waiting around a bit, but I ended up being there for most of the day, as I had some “technical difficulties”.

After watching the 11 am detail, I hung around over lunch time before taking up my spot on the mound. I was a bit nervous as I was shooting my rifle in its complete configuration for the first time. Since the last time I had shot, I had fitted and bedded my Boyds Prairie Hunter stock, had a new bolt handle machined, and modified my magazine follower. Also unfamiliar to me was a 6-24 scope that I had been sent to review.
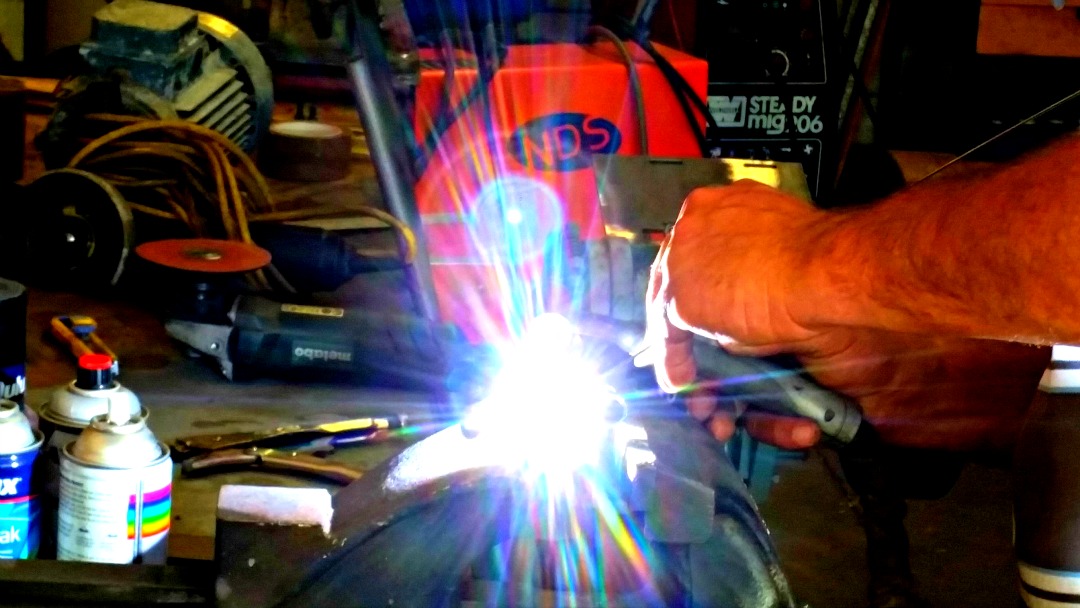
One new bolt handle coming up, thanks to my mate Thomas.

Unfortunately the scope did not perform and was unable to be zeroed on the day. This meant I had to wait through an entire detail, pushing out my wife’s shoot as well. However, I used this time to fit my trusty Vortex Diamondback 4-12×40 BDC, which I brought just in case. I have learnt my lesson with taking unfamiliar equipment to a shoot.

Unfortunately this meant I had to sight in from scratch, however, I was on paper on my 3rd shot, and the rest was just fine-tuning. By the end of my shoot I had it right were I wanted it, which meant my wife had the rifle ready to go for her shoot, and actually did quite well. Results can be seen here.

Overall I was very happy with the my complete sporter set up, and with some more powerful glass, I think I’d be comfortable taking this rig out onto the F-Class range.
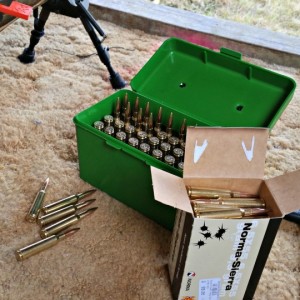
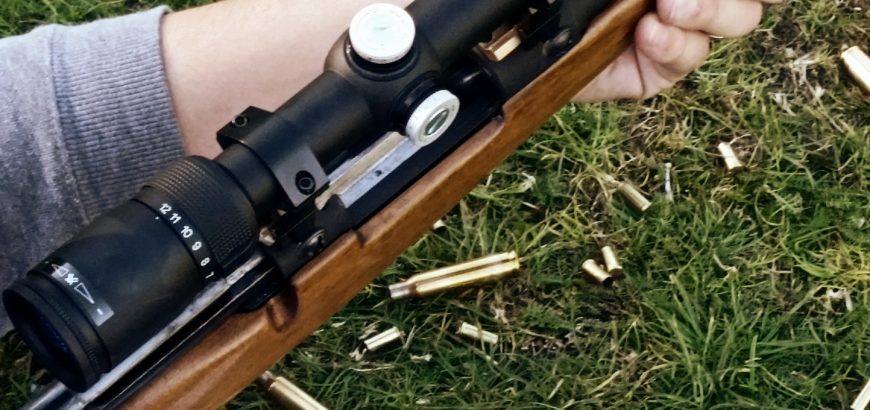
Looking forward to some Norma brass at the end of this.

I think the load development still has some way to go, particularly as the barrel on this rifle is quite short. Not having developed a satisfactory handload, I shot this competition with factory 6.5×55 ammo. I used the Norma-Sierra 144gr HPBT, and the round seemed to perform pretty well. To be honest, I was more interested in the brass than anything else, as I think this rifle will prefer lighter projectiles, in the 130 – 140 grain range. Over the holidays I’ll be testing out the 129 gr Hornady Interlock and 140 gr A-max. I’ll be comparing this projectiles side-by-side with the 142 gr SMK and the 144 gr OEM projectile in the Norma-Sierra load.

At the end of the day, the shoot was enjoyable, and definitely an experience worth repeating. You can shoot multiple times on one day, or on multiple days across the competition. If I have the time next year, I’ll probably try shoot it on a few days. Being located only 45 mins or so north of Auckland, the range is really accessible, although it is also rarely accessible. The Swiss Club is, of course, a club for Swiss nationals, and as far as I know, this shoot is the only time of the year that the range is opened up to the general public.

If you would like to try a different range and format, and perhaps a longer distance than you usually get to, you’ll definitely enjoy the Swiss Club’s ASAR shoot.
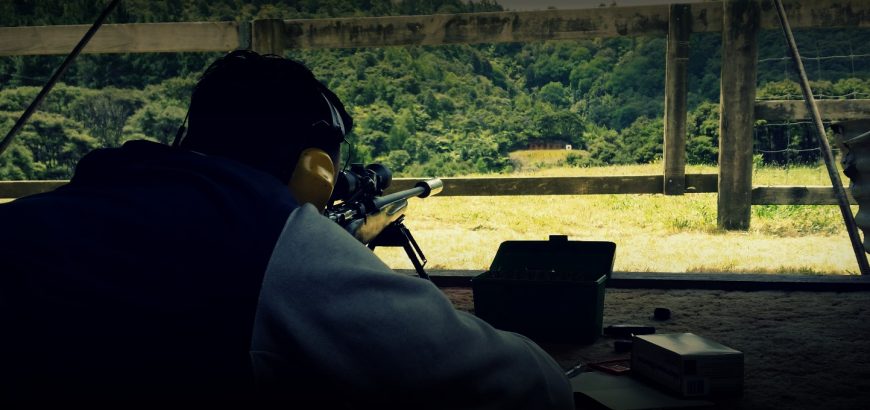
Auckland NZDA Prize Shoot

The annual NZDA Auckland branch Prize Shoot is a great day out for Auckland shooters of all abilities. Falling in September each year, the weather can be a bit hit and miss, but aside from that, it’s a perfectly pleasant day on the range with your favourite rifle and some mates.

This year – the 46th Prize Shoot – I shot for my second time and my wife completed her first centrefire competition. We both did fairly well, but she truly excelled. I’ll claim that it’s because I sighted the rifle in through my shooting (we shared a rifle). However, all credit to her, as she outshot some great shooters.

The field

That’s another thing that makes the day enjoyable – there are shooters of all abilities. I placed well ahead of some very experienced shooters, but was beaten by someone shooting for their first time ever. And vice versa. It really is a great field of competitors, where everyone can benchmark their performance against others.

NZDA 100 metre standing shoot
100 metres is more than enough from the standing position.

At the top of Division A were the usual suspects, including Paul Carmine. My wife, Kassie, took out Division B – which got her called up second in the order of prize recipients, allowing her to choose a really nice Hunting and Fishing backpack for her prize.

This year there were four ladies and two junior shooters. In total, there were just under 40 shooters, making up two details. Last year there were around 60 shooters (despite the inclement weather), and apparently previous years have had a similar turnout. Perhaps timing a competition to coincide with Bathurst wasn’t the best move…

The format

The format of the shoot is very simple and easy to follow. Once the safety instructions and competition rules had been read out, the first detail (Squad A) went to the mound for sighting in and the prone target shoot.

Rest and bipods are allowed for sighting in, however, you want tomake sure you're sighted in before competition day if possible.
Rest and bipods are allowed for sighting in, however, you want to make sure you’re sighted in before competition day if possible.

Sighting in is done on a target on the right hand side of the frame, and five minutes are allowed for unlimited sighters.  The range for the competition is 100 metres. I got 13 rounds off in this time, trying to get my rifle on point. The lesson here being to always sight your rifle in before competition day if you’ve done some work on it. After 13 rounds, there was a decent amount of mirage created by the heat of the barrel and my new MAE suppressor. However, by taking my time this didn’t affect my prone shoot.

You can use a rest or bipod to sight in, however the rest of the competition is shot without any aids (aside from a shooting mat and a kneeling roll).This means no slings, jackets or gloves.

The prone shoot is 5 shots in 7 minutes – plenty of time. After this is finished and the rifles are cleared and removed from the mound, scorers go forward to retrieve targets. Squad B is next, but in the meantime, people stand around chatting and enjoying the all-day sausage sizzle.

After Squad B, the same process is followed and Squad A goes up for 5 rounds in the kneeling position, also in 7 minutes. Rinse and repeat for Squad B. The last shoot of the day is 5 rounds standing, again in 7 minutes. This is what separates the men from the boys. Some of those scoring in the 40’s in the prone event struggle to scrape 20 together in the standing position.

In between these, there is a 5 round rapid shoot on the 25 metre range, to be completed in 40 seconds. Again, making sure you know your hold under/over and your parallax settings before competition day is invaluable. If you’re sharing a rifle with your partner or buddy, you will be accommodated with an extra rapid at the end – although you’ll probably have time in between while targets are retrieved and people yack on about how they pulled that one shot. Targets are also given out once scored, so there is plenty to talk about during the day.

The rifles

Generally speaking, the rifles are hunting rifles in hunting calibres. There are some rifles that would look more at home in an F-Class shoot, and some that would be quite comfortable in the lineup for a military service rifle shoot. The most exotic calibre of the day was probably .310 Cadet, with one .22 Hornet and a 6BR making an appearance.

As far as I could see, the only semi-auto was a Norinco M305 (the Chinese version of the M14), whereas last year a couple AR-15’s placed very highly in the field. At the 2014 Prize Shoot I did take an SKS – what a mistake. The iron sights had not been sighted in and after I took the muzzle brake off, the scope’s zero was so off that I wasn’t on the paper. It was an exercise in frustration, and using the iron sights and a whole lot of compensation, I managed to get some scoring shots in the kneeling and standing events.

This year I went armed with my 1943 Husqvarna M38, chambered in 6.5×55. This rifle was sporterised when I got it, and has since been modified even more. Over the last ten or so months it has a new matte black coating applied, the bolt has been replaced and the cocking piece cut down to reduce lock time. I’ve also installed a Vortex Diamondback BDC 4-12 x 40, and a new adjustable BOLD Trigger, which was kindly supplied by Boyds. Completing the setup was a brand new MAE suppressor, which thoroughly impressed my shooting buddies as well as those that heard it perform.

I also have a new Boyds Gunstock waiting to be fitted to this rifle, but I didn’t want to rush the bedding and finishing before this shoot. It should be ready before the 300m Swiss Club shoot in November. And I’ve learnt my lesson – sight in beforehand!

The load I was shooting was as follows:

Projectile: SMK HPBT 142 gr
Powder: ADI AR2208 34.7 gr
Brass: PPU (twice fired)
Primer: Federal Gold Medal Large Rifle Match

Aside from my wife and I, there was one other person shooting 6.5×55. The most common calibre by far was  .223 Remington, with 14 shooters using this round. There was one .243 and three .270s, with eight .308 rifles as well. The winning rifle was a .222. There were also four other rifles in this calibre on the day, two placing very low in the field and the other two coming in near the top.

The MAE suppressor cut down felt recoil and the loud crack of the rifle, making it a pleasure to handle.

The prizes

The prizes for the shoot are kindly donated by several sponsors, including major Auckland gun stores, as well as private individuals and club members. Also on offer was a one-year membership to the club, as well as a couple magazine subscriptions.

There were some great prizes to be had, including four of these Leupold knives.

Dotted along the prize table were all sorts of cool items for the garage, range, shed, field or bush. Ranging from knives and a machete to ammunition, books, cleaning products, car accessories and even a leather-working voucher.

Everyone walked away happy, having picked a prize that was probably worth more than the $25 they paid to enter the competition. With free sausages all day, and a lot of shooting to do, it adds up to a very worthwhile day.

With the prizes on display all day, everyone eyes up what they want, and probably spend a fair bit of time vacillating between equally awesome prizes. Last year the knives were first to go, however this year they stuck around for a bit. There were a fair few on offer, and myself and two other members of HSSRC managed to score three out of the four limited edition Leupold hunting knives. The first place junior made a bee-line for the machete, which was clearly something he’d been eyeing up all day.

Whether you only break out the centrefire rifles a few times a year or you regularly enjoy taking your hunting rig out, the NZDA Annual Prize Shoot is a rewarding experience in more ways than one, and is something I’d definitely recommend.

Service rifle shoot at Waiuku

I’ve never had good luck with a shoot at Waiuku. I’ve been to the range twice before and both times been hit torrential rain and gales, making shooting uncomfortable, if not impossible. Well, third time was the charm as I attended the Waiuku service rifle shoot this Saturday past.

Firstly, let me say that Waiuku has great facilities that enable a wide range of shooters to enjoy themselves. It’s also one of those rare clubs where pistol, rifle and shotgun are all welcome. However, I’ll leave a review of the range for another post. For clarity’s sake, this isn’t the same Waiuku range were ASRA does their winter shooting (The Farm).

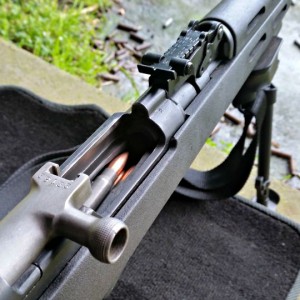
On to the shoot itself. Well, it’s a 45 round shoot which I was hoping to do with my .303, until I realised that morning that I only had 20 rounds in the safe. With an abundance of 7.62×39, it turned out that the trusty SKS would get a work out this morning.

Service rifle shoot

If you’re into your military surplus rifles, going along to a service rifle shoot should definitely be top of your list of things to do. With everything from WWI Lee Enfields, through to Mausers and AK47s and AR15s, every major armed conflict in recent history was represented.

The shoot was run in two details and as previously mentioned, was 45 rounds. This consisted of a Trinity and Action M match and a 10 round sniper shoot.

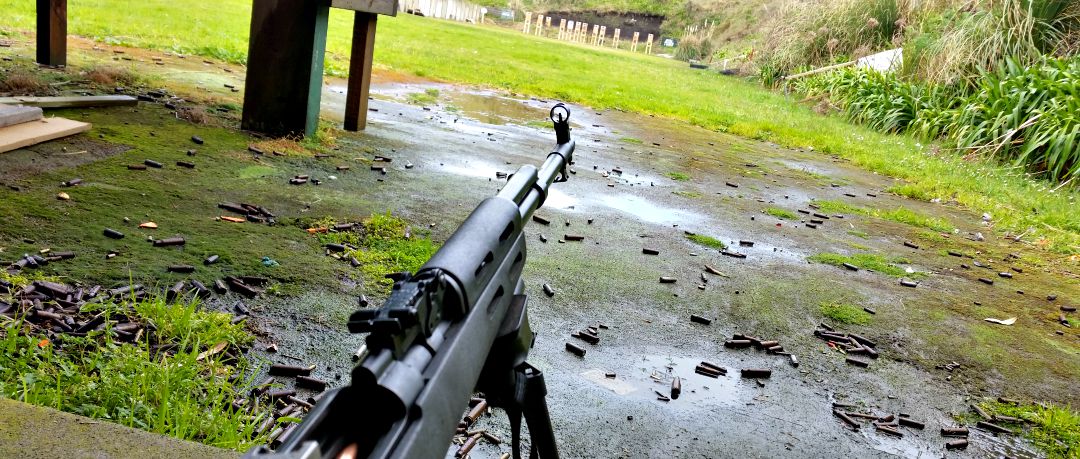
The Soviet weaponry and rusted casings are reminiscent of the Nicholas Cage movie Lord of War.

The trinity shoot is 5 rounds each in the standing, kneeling and prone positions. With no sighters or spotting scopes, you’ve got to know you’re rifle well. The SKS performed well, but was shooting low – which was more me than the rifle, as my wife was shooting too high with the same gun. One thing I may consider doing in the near future is replacing the front sight post with a skinnier one that doesn’t blot out the entire target. Those rifles that were scoped were limited to a magnification of 4x.

After those fifteen rounds, targets were checked, which is when a few of us actually got to see where our rounds were going. For myself, another shooter with an unsighted SKS and another with a new suppressor on his AR, the results were less than stellar.

The next ten rounds allowed us to compensate where we needed to, but the faster pace and movement involved in the Action M shoot means you can’t spend too much time trying to compensate, especially with open sights at 100 metres.

An Action M is usually shot in 60 seconds (at least it was when I last shot one at the Auckland Service Rifle Assn), and consists of 2 rounds prone, 2 rounds standing, one kneeling – reload another 5 round mag or clip – one kneeling, 2 standing and 2 prone. It’s 75 seconds for bolt actions, which is okay if you have a removable box magazine or stripper clips. However, when I shot this last with a Swedish Mauser and no stripper clips, it was certainly challenging. The rules for different types of matches are made by the NZ Service Rifle Association.

In light of the range of rifles and abilities present on the day, and the generally non-competitive nature of the shoot, no strict timing was done, although everyone went as quickly as they could.

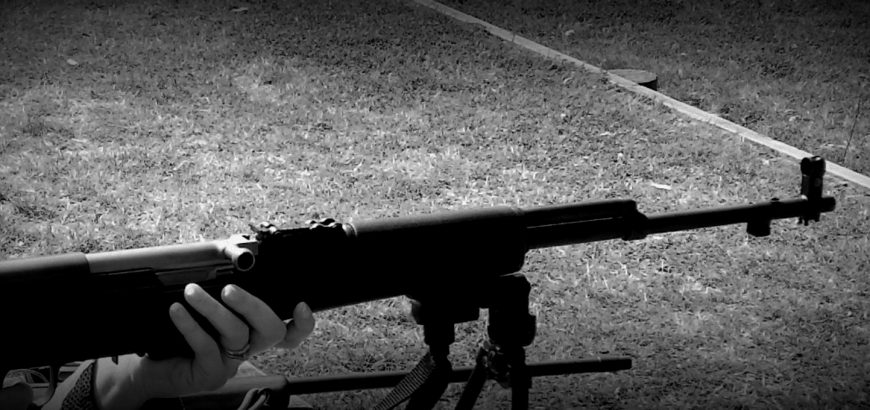
SKS on bipod
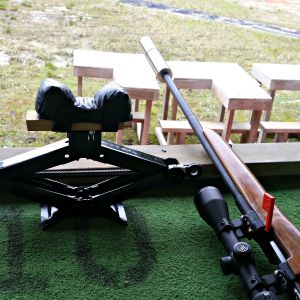
The sniper shoot allowed for rests or bi-pods. Handy hint; your car’s floor carpeting can be used if you forget your shooting mat.

The last ten rounds was a sniper shoot which allowed shooting aids, such as rests, bi-pods and spotting scopes – this is where many people were able to turn the tables – despite the smaller targets. Having someone spotting for you is also very helpful when you’re on iron sights.

Although I didn’t place highly, I did enjoy the day and seeing all the old relics shooting (and their rifles too). About a third of the shooters were from HSSRC, so there were some friendly faces, and a few us enjoyed shooting some silhouettes with the rimfires on range 2 afterwards. All-in-all, for $20 and the cost of ammo, a good day was had all round.

Finishing the day off with some silhouettes at 25, 50, 75 and 100 metres was good fun.

Should I Loctite my scope bases?

If you’re putting together a rifle for the first time, or you’ve just bought a package deal that was loosely thrown together, you may not be aware of the intricacies involved in proper scope mounting. One of the questions often debated in forums all over the internet is whether or not to apply Loctite to scope base screws, and if so, which colour to use?

Well, I made the rookie mistake of driving three and a half hours to do some target shooting after reassembling a rifle I had coated with a nice new finish. I completely forget to Loctite to the scope bases. I sent a few factory rounds down range to foul the barrel, and got a group size under 2 inches at 100 yards. Sounds about right.

I then painstakingly went through shooting 3-shot groups with my reloaded ammo (I was working up a new load), and watched in absolute horror as my groups opened up to 3 or 4 inches. Thinking I may have overheated the barrel, I gave the old shooting iron a rest and threw some lead downrange with a few other toys while it cooled off.

Taking up the prone position again I looked forward to drilling some really expensive Sierra Matchkings into ragged little holes 100 yards away. No such luck. I was shooting groups that opened up to 7 inches. What the…? I could not figure out how I had screwed up this batch of reloads so badly. Until I adjusted the scope settings for a friend of mine to shoot at 50 yards. Wait – was that a bit of wiggle in the scope mounting? Indeed it was. I had managed to get about $50 worth of ammo down range with no particular success before I realised that my loads were fine – the scope bases had come loose.

Don’t make my mistake

Frustratingly, after driving home for three and a half hours I noticed the blue bottle of Loctite sitting on my gun bench, like a big fat “I told you so” from the universe.

In short, don’t make my mistake – Loctite your scope base screws. I took a perfectly good 1-inch shooter and turned it into a minute-of-dinner-plate loser by forgetting this simple step. And I’m sure my scope didn’t appreciate flopping around like that either.

Make sure your threads are completely clear of debris or grease when you do this. And while some people say red Loctite is okay to use, I prefer to use blue – I find it is much easier to remove. While you may not take your scope bases off regularly, if you want to upgrade or change to a 35 MOA rail, or whatever, you’ll wish you had used the blue variant.

SKS on bipod at the range.

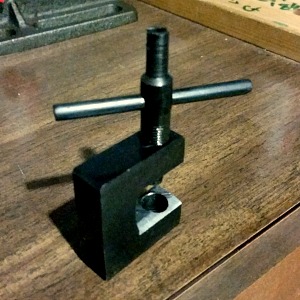
SKS front sight tool

The SKS is an immensely popular rifle in New Zealand. Whether it’s for budget-conscious hunting or recoil-reduced plinking, there are plenty of reasons to have one or two of these fun-makers in your gun safe. However, if you’ve picked up your favourite communist rifle and found that the grouping is out, you’re going to need to invest in a front sight tool – something I’ve recently done. Here are my do’s and don’t of this process.

This is what you should do when buying a front sight tool

SKS front sight tool
As you can see I have filed down the inside edge of the tool to fit around the hooded front sight.

You should definitely shop around. How much are they at the gun store – 50 bucks? Forget that. Go to Quartermaster Supplies and pick one up for $20. Most tack-on accessories for milsurp rifles can be found there for cheap. I paid $28, including all tax and couriered to my work. Sure beats paying almost twice as much at some of the big-name stores, and wasting time and petrol too.

You will probably need to file down one edge of the tool. I think these would fit an AK-style rifle without it (don’t have one on hand to check), but you’ll definitely need to shave off one of the inside edges of the U-shaped device, so that it can accommodate the round post-protector ring. This took me all of 5 minutes with a file, and a quick sand to debur. Just one edge is fine – you can flip it around to adjust the other way.

Sighting in should be done with the FORS principle in mind. That is Front Opposite, Rear Same. If you move the front sight to the left, the point of impact shifts to the right. If you raise the post, the POI will move down. If that just doesn’t make sense, check out the video below. This guy explains it fairly well – and it’ll save me repeating myself.

This is what you should not do when buying a front sight tool for the SKS

Do not try and drift the sight across with a hammer and punch. I have – naively – tried this, and not only is it frustrating, but you’ll soon end up with scuffs all over your bluing and you probably won’t move it much in the end. Spend the $28 – it’s worth it.

Don’t adjust your front sight while the gun is loaded. Seriously. Load one round at a time when sighting in if you have to, but don’t put your hand near the dangerous end of the rifle, and your body or face over the action when it’s loaded. Doesn’t that just sound like a recipe for disaster? The best safety is an empty chamber.

Don’t try and sight it in alone, unless you want a long and frustrating day at the range. Get someone on a spotting scope telling you where you’re impacting – it’s easier, and it’s always nice to have company.

You shouldn’t assume one shot is enough to determine where the rifle is shooting. I prefer to shoot a group of two or three before adjusting iron sights on a rifle like this at 100 or 200 yards. If it was a scoped target rifle on a bipod, with a more accurate round, then yes, one shot would be enough to figure out where to move your POA.

And lastly, don’t sight in with your plinking ammo and expect it to be spot-on with your good stuff. Sight in with the ammo you need to be most accurate with. The difference isn’t much, but the SKS can sometimes need all the help it can get when it comes to extracting every last bit of accuracy out of it. At least most bullets are of a similar weight and diameter when it comes to the SKS, so there won’t be a great deal of difference.

Vortex Diamondback scope

Product review: Vortex Diamondback 4-12 x 40 BDC

Firstly, buying this scope was a mistake. But it’s a mistake I’m very glad I made. I intended to buy the adjustable objective version of the Vortex Diamondback 4-12 x 40 BDC, but ended up with the fixed-parallax type. I couldn’t return to the store and swap it, because I had just left the country where I purchased it.

With the AO version, my idea was to use it at its maximum zoom at a 25 yard range on a rimfire target rifle. However, without that AO bell, the scope just won’t focus at 25 yards at any magnification greater than 8 x or 9 x. So, I reluctantly told my wife we’d need to take this brand new scope off her rimfire rifle and put it on my 6.5 x 55 that was in need of some glass. This is the point where I’m glad this happened.

The technical specs

The parallax setting on this scope is 100 yards – perfect for getting sighted in at the range, and more than adequate for the average hunting shot in the New Zealand bush. The adjustments go out  60 MOA in elevation and windage. With my 6.5 x 55 it was pretty much bang-on at 100 yards, maybe a total of 7 clicks left and a few up or down, I can’t remember. If you’re aiming to shoot long distance (600 – 1000 yards) you’re probably going to want to mount this on a 20 MOA rail.

The Bullet Drop Compensation (BDC) points are graduated in MOA, and so is your turret adjustment. How many times have you bought a mildot scope and found out later it has MOA turrets? So, this is nice to know right off the bat.

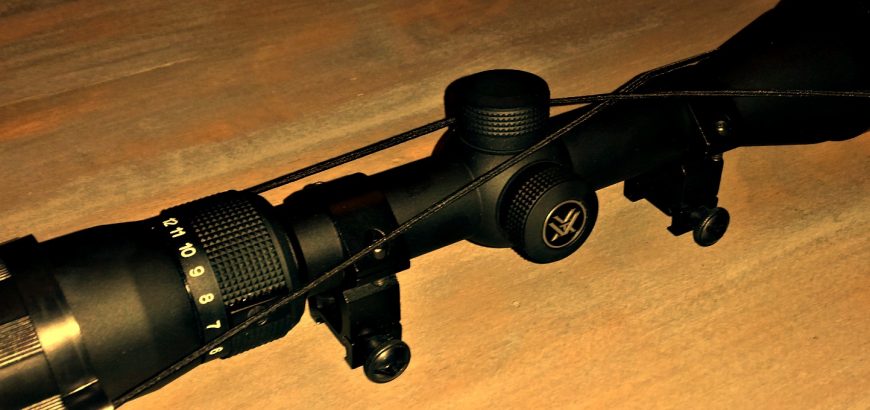
Vortex Diamondback scope with caps off.
The turret markings are easy to see from behind the gun.

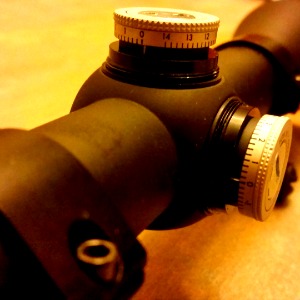
The turrets are capped and resettable. This is nice, as now that I have my zero I can use the windage or elevation adjustments to my heart’s content without worrying about getting my 100 yard zero perfect again. The caps are nice and low and are easy to grip. Be careful when resetting the zero that you don’t damage the turrets, as I found them to be very tight and had to hold them in place with vice grips while I used a screwdriver to loosen the turret. Any extra pressure while doing this and you could have tool marks on your nice new scope. I covered the surface of my grips with masking tape to prevent teeth marks.

You have a total of 5 points of vertical aim, including the crosshairs and the top of the post. You also have 3 hash marks either side of the crosshairs horizontally, as well as the post edges. How to use the BDC? Check out this video from Vortex.


Quality and ease-of-use

The scope has the usual things that manufacturers claim, such as fog-proof, shock-proof and weather-proof everything. Except, this scope really does. I have mounted two scopes on this rifle – the other I won’t name. The unnamed piece-of-junk was used on one range trip for about 3 hours. Yes, there was wind, rain and sun. When I took it off to mount the Diamondback I noticed that the unnamed scope’s exterior coating was peeling off. After one trip!

Subjected to the same conditions, the Vortex scope still looks brand new. That’s probably why they provide an unlimited, unconditional warranty. Which, to be honest, is half the reason I bought it – that shows confidence!

The clarity was exceptional, and the lense coating wasn’t just for show. I had plenty of light, no glare and just a great shooting experience. The scope also features a fast focus adjustable eye-piece with a decent amount of range on it. This was perfect for when different shooters wanted to try it out. Also, the markings on the turret are easy to see without changing your shooting position much – which is not something I can say for every scope in my safe.

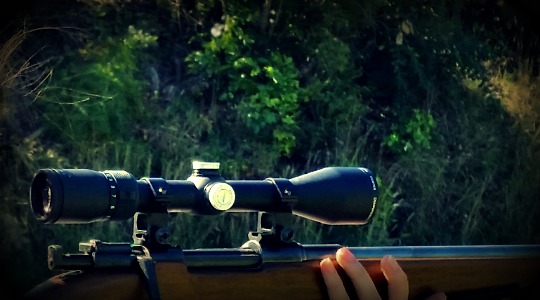
Vortex Diamondback scope on M38 Husky.
Adjustments on the range are done with ease.

Quality of manufacture is something that really shows when you shoot at an outdoor range. It’s also something that greatly determines how long a scope will last and whether you’ll enjoy shooting with it or not. In my humble opinion, the Vortex range is excellent. They are also reasonably priced. In the USA (where I bought mine) they were very affordable. In NZ, they are probably middle of the road. Either way, still worth it for the high-quality optic you’ll be getting. I would definitely purchase another scope from their range.

You also get some handy extras with your scope. There are the standard removable lense caps and a *really nice* cleaning cloth. I would suggest making use of Vortex’s incredibly intricate Long Range Ballistics Calculator. Not only will you be able to figure out your elevation and windage hold, but you’ll probably convince yourself to buy some new rifle while you check out all the ballistics tables you can produce for just about every calibre known to man.

You know the old addage of spend as much on your glass as you do on your rifle? Well, this is one scope that breaks that rule. I would happily mount Vortex optics on rifles that would generally be seen toting the latest Swarovski or Leupold glass.