Voere 22LR Bolt Action

No bolt, no mag – what to do?

It’s not unusual for an older rifle to make its way through the family tree and lose its bolt or mag along the way – especially .22s which can be used and abused. The other way no mag/bolt guns fall into our hands is through Trademe auctions, usually run by gun stores that have used older rifles for parts, and no longer need the barrelled action and/or stock. So, is it worthwhile trying to restore these firearms to their former glory?

What’s the value?

If it’s a family heirloom, it could have enough sentimental value for you to undertake the project regardless of cost. However, if you’re eyeing up an auction, it’s probably because you want to get a rifle together on the cheap. Depending on your scenario, it may or may not be worth the time, money and effort to restore the firearm.

A word to the wise – thoroughly research your intended purchase before assuming you can find the parts to complete the project. As an example, I wanted to put together a cheap shotgun and bought an SKB semi action and stock, missing the forewood and barrel. I had seen some barrels online, and figured it would be easy enough to put this thing back together.

However, I found out (like an hour after the auction), that the SKB factory had been shut down, and that the barrels that I had found in the States were not ideal. There are some available locally – for over $900. There goes the idea of a cheap shotgun. So I paid $29.50 for something that probably won’t ever be used for anything, except perhaps testing out gun blue or stock reconditioning products.

What’s the cost?

Sometimes you can source the parts, but you have to be inventive to keep the cost down. The thing is, if it was cheap to do, the gun store would have bought the parts and sold a complete rifle for more – so you know it’s not going to be a walk in the park.

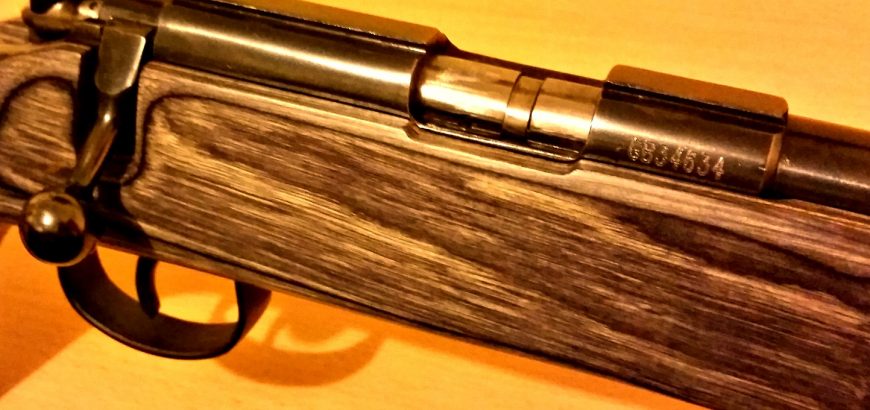
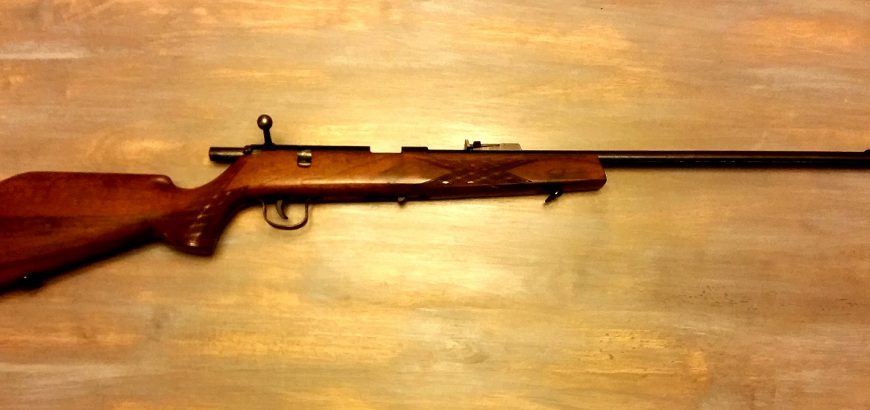
A good example of getting creative is a rifle I got from my father-in-law. It’s a .22LR bolt-action from sometime around the ’70s or ’80s. It was sold by a trading house by the name of Wischo Kg Erlangen in Germany originally, essentially assembled from parts provided by various European manufacturers. The rifle is basically a Voere.

The rifle came into my possession for the princely sum of a nice bottle of wine. It had a decent looking barrel and a crisp two-stage trigger. However, it was missing the rear sight, magazine and bolt. By keeping my eyes open, I managed to spot a Voere parts auction on Trademe.

The auction was for an action and bolt, with about 8 inches of barrel attached. See below video of me firing this weird thing, after fitting it to the stock from the rifle I had acquired.

Included in the “barrelled” action was the rear sight – a stroke of luck. Also in the auction I got a 6mm garden gun without bolt, which is just a wallhanger in my office. Oh well. I’m never even going to try solve that mystery.
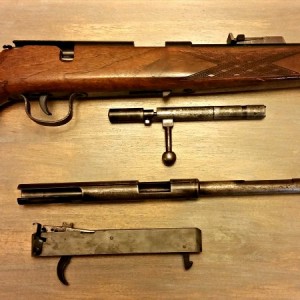
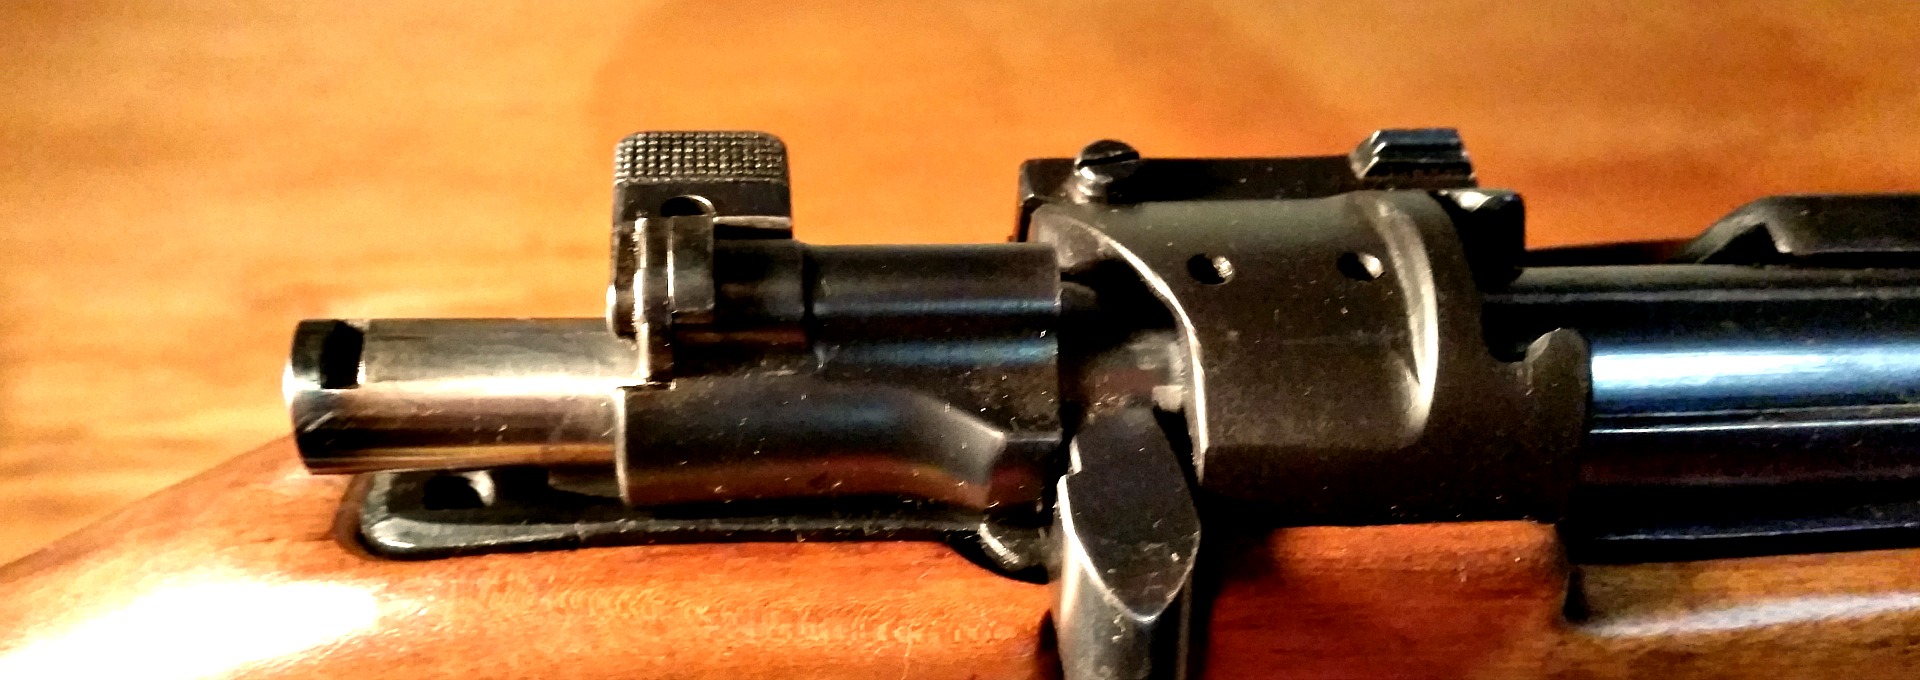
The Wischo rifle sporting the Voere sight, pictured next to the Voere bolt, action/barrel and trigger group.

The issue then became whether the parts I bought on an (educated) whim for $40 would fit my rifle – as technically they were not from the same gun. Well, it turned out I was right with my assumption that the trading house rifle was a Voere in disguise, however the bolt wouldn’t close nicely and the rear sight was obviously different, as it had a larger dovetailed base.

A machinist/engineer friend of mine helped me take a small piece of metal off the action around the bolt, which got it cocking smoothly, and extended the dovetail to take the sight off the parts gun. This cost me a box of Heineken.

All that’s left to buy is a magazine, which I can get from here, or here, for between $100 and $150. So, all up, for the cost of a bottle of wine, a box of beer, $40 for parts and around $150 for a mag, I’ll have a nice wee shooter with a bit of character and a story worth telling. By throwing in some of my own time and effort, I can reblue the rifle and varnish the stock, and it will end up being a really good looking little gun too.

So, again, it can be worth it – but you’ve got have the time, and sometimes know the right people, to make it worthwhile restoring a non-functioning rifle.
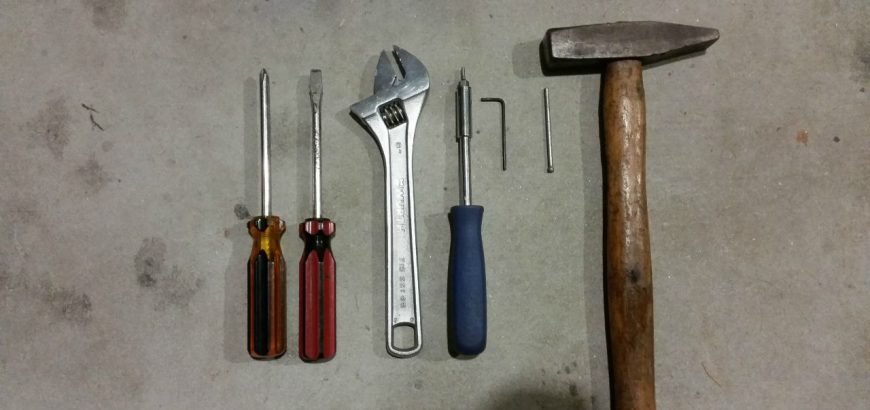
The tools needed for this job are pretty simple and should all be in your tool box already.

Installing an aftermarket triger

Modern rifles with their out-of-the-box accuracy guarantees usually come with adjustable triggers, but if yours didn’t, help is on the way. Whether it’s an old military surplus rifle that you’re modifying or a modern hunter that needs a little bit of work, installing a new trigger is easy and worthwhile.

A stiff trigger pull can be the difference between a bullseye and the 9 ring, or the difference between a clean kill and a long walk through the bush chasing a wounded animal. If you want to see the difference a good trigger can make, one of the best examples you could have would be to try a 10/22 with a match trigger, and then shoot one with the standard trigger. After shooting with a lightened trigger for so long, I thought the safety was on when I tried to pull the standard trigger.

The tools you’ll need

There’s not much to this job really. Most stock triggers are removed by driving out the pin that holds the unit in place. This pin also acts as the fulcrum for the trigger set and reset. To drive this out, you’ll need a hammer and punch – or a filed down nail if you don’t have a punch to hand.

Depending on the trigger unit, you may need a small spanner or wrench to adjust lock nuts, and probably some allen keys or screwdrivers to adjust pull and sear engagement. Depending on your rifle, you’ll probably need a large flat head screwdriver to undo your action screws.

The tools needed for this job are pretty simple and should all be in your tool box already.

The trigger of choice

Of course all of this is moot if you don’t have a trigger to install. There are a few options out there, depending on your breed of rifle. Ruger 10/22s, AR15s and Rem 700s have a multitude of aftermarket bang switches, however if you’re improving an older rifle you may have to do some digging to find the trigger you need.


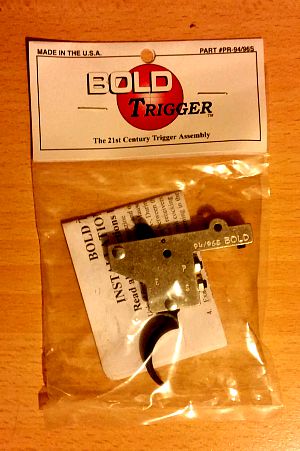
Nice new trigger thanks to Boyds Gunstocks.

My most recent trigger install is a BOLD Trigger from Boyds for my Husqvarna M38. As I’ve mentioned before, I don’t like using a safety – an empty rifle is the best type of safety – so I went for the version without the side safety. However, if you do like to use your safety in addition to safe gun handling practices, the side safety is much more convenient than the toggle on the back of the bolt on the old Swedes.

The 94/96 trigger fits the M38 perfectly. Boyds also stocks triggers for the 98-family Mausers, as well as a Mosin Nagant trigger. Other hardware obtainable from the gun stock manufacturer include trigger guards and floor metal, as well as sling swivel studs and action screws.

Extra inletting

Depending on your trigger, action and stock, there could be some extra in letting to do. Thankfully with the Boyds stock this rifle is destined for, there is ample space for the trigger. However, before I get round to bedding and finishing that stock, I’ll be taking out a bit of material from the current stock to allow the larger trigger unit to fit.

For this job you may want to use a mill. However, hand tools or a dremel will do just fine.

The easy part

The easy part is the install itself. For most triggers, all you’ll need to do is punch out the retaining pin, put the new trigger in the old one’s place, and insert the pin again. That’s almost all there is to it.

With the BOLD Trigger, there’s a grub screw forward of the pin which, when tightened, keeps the unit in place. The mechanism is quite different from the original trigger, so you won’t need the old spring or any of that. If there is any issue with fit (as there can be with the many variations of these beloved milsurp rifles), the instructions that come with your trigger should tell you where you need to add or remove material.

Adjusting the pull and sear engagement

This is where your new trigger comes into its own. It will have its usual factory setting – 3 pounds for the single-stage BOLD Triggers – and an adjustable range. The range on my new trigger is 2-4 pounds, and the sear engagement can be altered too.

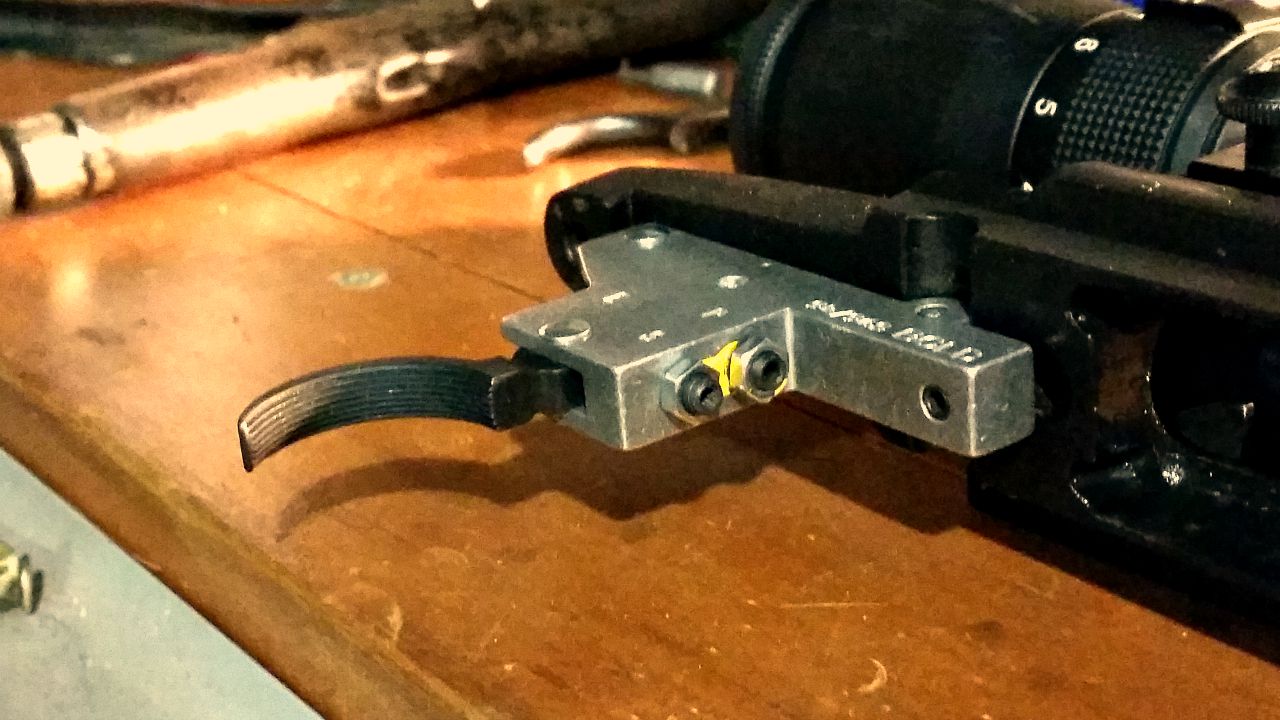
On my model, this is done by loosening the locking nuts and adjusting the grub screws with an allen key. In the photo below, you can see I’ve started on this in the photo below, as the factory seal yellow paint has been broken.

The yellow factory seal on the adjustment screws is broken.

I’ve adjusted my trigger to the lightest it will go. This rifle will be a range-only queen, so the heavier pull you’d want on a hunting rifle is not necessary. When adjusting sear engagement, work the bolt rapidly to make sure it won’t fire on closing – too little sear engagement and you could end up with an unsafe rifle.

Once the trigger pull is where you want it – I shouldn’t have to say this, but obviously you’re testing this on an empty chamber or dummy round – it’s time to tighten up the locking nuts. Your particular trigger may have different instructions or mechanisms, so make sure you follow the included install directions.

Of course, the number one concern when modifying a rifle is safety when operating, as well as during the install process. If you’re unsure of how to properly install or set your trigger, your local gunsmith should be able to help you out for a very reasonable fee, as the the work involved is not onerous.

Should I clean my .22LR barrel?

There are many opinions, myths and vagaries about rifle cleaning. Some will tell you to clean and polish your bore after every trip to the range, others will tell you cleaning your rifle is a waste of time or a bore snake will do the trick. However, one thing’s for sure – maintaining your .22 is completely different.

What’s the difference?

Whether it’s rimfire or centrefire, some fouling is often needed to get a barrel shooting to the same, reliable point of impact. Lead rimfire projectiles are much softer copper-jacketed bullets, doing minimal damage to the bore, and the lead deposits left in the barrel don’t do any harm either. Copper not only wears down the barrel, but leaving it in the bore can lead to quicker deterioration of the rifling after subsequent shots.

So, the question then becomes – if fouling is good and lead isn’t harming your barrel, why would you clean your .22?

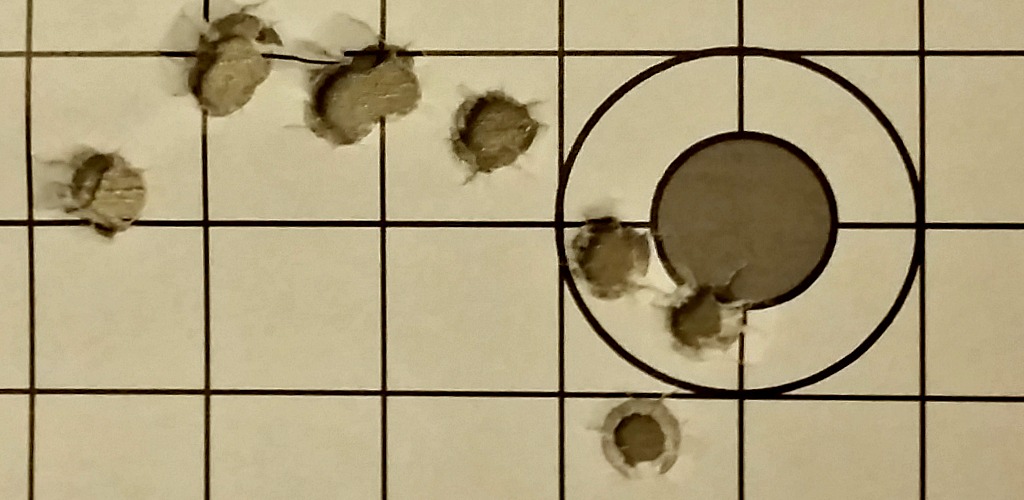
This picture shows how a clean barrel walks to its point of impact once it fouls up.

How often to clean your .22LR barrel

I don’t personally clean my barrel very often. The standard is “when accuracy starts dropping off”. And to be honest, I’ve never got to that point. I give my .22 a couple pulls through with the bore snake and some Hoppes No. 9 after a couple thousand rounds – give or take a few. But, lead crud is nasty on the action.

I mainly shoot bolt action when I’m shooting rimfire, which means I can feel when the bolt starts getting stiff or it doesn’t feed nicely. Semi-autos tend get gummed up a bit more, as gasses from firing come back into the action. What to do? Use some bore solvent and angled brushes, cotton swabs or cloth to clean the gunk out. Every now and then disassembling the bolt or action could be necessary to ensure reliable functioning. Some shooters also like to clean up the crown, however, I shoot with a suppressor, so I’m not super-fussed on that score.

If you have any questions or tips for cleaning your rifle – share them in the comments below.

100 yard shooting with Husqvarna M38

The benefits of shooting with your significant other

There are a lot of guys who go out hunting or shooting to escape everyday life, and for some this means domestic bliss too. And fair enough. Everybody needs some downtime –  a hobby or pursuit where they can unwind. However, there are also distinct advantages to shooting with your significant other, whether you’re a man or woman. And I said shooting with. Not shooting.

Learn new skills

I go out shooting with my wife a fair bit. And since she has taken up shooting sports we have tried out several clubs and different guns, and we’ve both tried things we wouldn’t have otherwise. We’ve also both found different things that we are good at.

Where I like to technically analyse every part of my shoot, from my reloaded ammo to the wind dope and projectile weight, my wife is very good at reactionary shooting – such as trap shooting. Which, if I’m honest, I’m hopeless at. With a bit of practice, I’m sure I could get the hang of it, but it’s not for me.

Establish yourselves

Shooting is a great way to bond as a couple. I’m not about to give relationship advice on my firearms blog, but suffice it to say that picking up a hobby and spending time together certainly doesn’t hurt when it comes to getting to know each other a bit better.

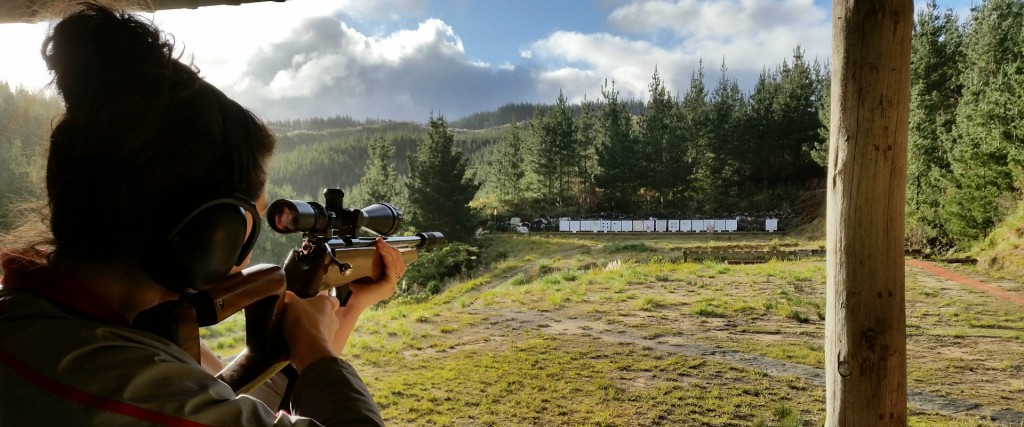
My wife shooting her .22 at the NZDA Auckland 100 metre range.

Become competitive

Whether you like to compete against yourself, each other or other participants, shooting sports are competitive. And the great part is, you don’t need to be particularly athletic or gifted to be moderately competitive at a club level.

This is a great way to enjoy the thrill of and success of competition, and will enhance your enjoyment of your shooting. Get out and try local competitions and learn more about the kind of shooting you like. You’ll also meet some great people who have plenty of advice to give.

Spend more money

Having a buddy on the spotting scope or putting up targets is another advantage.

Let’s be honest, every time you try and justify the cost of some new rifle part or reloading accessory – the last one you’ll ever need, promise! – it doesn’t go down too well. I know people you hide their hobby expenditure from their partner, using cash jobs to pay for ammo and new toys.

If your husband or wife is just as into their shooting as you are, it’s easier for them to understand why that new shooting rest or a higher magnification scope is actually necessary.

Share the load

If you’re out hunting or setting up targets on the range, it’s great to have a buddy around to help lug things about or give their opinion when necessary. If you’re shooting partner is your spouse, well, you’ve pretty much always got someone you can count on to help you on the spotting scope or skinning a deer.

It’s not for everybody, but for some, taking your spouse to the range or teaching them how to reload could be a great way to enhance your enjoyment of the sport you love.

JW-15 in Boyds laminate stock.

Custom rifles vs Factory rifles – who wins?

Let me preface this by saying… How long is a piece of string? If you’re looking for the definitive guide on the all-time showdown between factory and custom rifles, you’ve got a long wait ahead of you. There’s no way to say one is categorically better than the other, but depending on your needs, one will suit you more than another. Here’s a quick run down on the two options.

Custom vs “Custom”

Well, maybe there are three options. There are rifles that are custom built by fantastic gunsmiths, or even several different people (i.e. barrel manufacturer, suppressor builder, stock maker, etc), and they can run into the tens-of-thousands of dollars. Chances are you’re not comparing a $35,000 rifle built on a Surgeon action to a Weatherby. So, realistically, these types of custom rifles fall outside of the scope of this discussion.

There are even the customised Remington 700s, Sakos and others you can buy direct from a gun store, which have been assembled with a host of accessories and a non-factory stock, etc, which offer “custom” rifles at lower costs and with a lot less effort. This a kind of middle-ground which, again, falls outside of the debate of custom vs factory.

Factory rifles

There are a host of incredibly good choices out there when it comes to factory target or hunting rifles. And the fact of the matter is, with modern production techniques and better quality control standards, many of these rifles are incredibly accurate out of the box.

Sako guarantees the Tikka T3 line to produce an MOA 3-shot group out of the box, and they boldly make the same claim with their T3 varmint and tac and 5-shot group. That’s pretty impressive. However, that doesn’t mean your new Tikka T3 Lite in stainless/synthetic will do that with any ammo you feed it. Bear in mind, Sako tests rifles with ammunition they produce themselves.

So, you may need to find just the right brand of ammunition, or even reload your own to get that level of accuracy.

The great thing about factory rifles is that if you look after them and keep track of how many rounds you put through them, you’ll generally get a pretty good resale value if you decide to switch calibres or clean out the safe down the line. Selling firearms is just foreign to me – I want more, not less – so I couldn’t really relate personally. However, for some, it’s a major benefit.

Another aspect of factory rifles, and this is one that I can understand, is that you have warranties and guarantees form manufacturers and retailers. If something goes wrong with a stock-standard rifle, you’re usually okay. Again, this comes down to incredibly efficient modern materials and processes – a lot of manufacturers are so confident, they will give you a lifetime warranty, even with their base models.

Custom rifles

A lot of firearm owners like to try and get more for less. They’ll buy a rusty old milsurp and try restore it, or even convert a P14 action from .303 to a .338 Lapua long-distance shooter. It’s this undeniable urge to make something better and more accurate – but cheap.

Many people try, and many people fail. The old adage “cheap, accurate, reliable – pick two” still stands true. However, not all is lost. Many backyard tinkerers find that they learn more about gunsmithing, rifle maintenance and internal or external ballistics by working on their own firearms than if they bought an out-of-the-box MOA-shooter. It gives you a more holistic view and respect for firearms, and generally makes you a better shooter. The more you know about how your rifle works, the better you can work with it.

Modified Mauser bolt action.
This modified Mauser bolt action was a lot more work, but is a joy to shoot.

What I have found with my own projects, from JW-15s to Swedish Mausers, is you’ll probably spend enough money in the end to have bought a tack-driving factory rifle. So why would you do it?

  1. The initial outlay is low. Three or four hundred for an M38 in 6.5×55 which might need a lot of work to be great, but at least in the meantime, it’s still good.
  2. It’s a project. If you yearn to create your own sub-MOA rifle and constantly look up the latest Boyds’ rifle stocks or DPT muzzle devices, then this probably for you.
  3. It’s unique. Hey, it’s the gun you built, not the one Howa, Marlin or Remington made. There’s a certain amount of pride in this, and you can make it look and feel the way you want.
  4. Individual needs. Hey, if you need a bush gun – cut down a .303. If you want an odd-looking F-Class gun, try your hand at “improving” an old Mauser. The best part is never feeling bad about cutting into the steel – coz it only cost $250.

Who wins?

Well, if you want a reliable, dependable and accurate rifle to take hunting or to the range, you could go and get yourself a Tikka T3 Lite in stainless/synthetic for less than $1200. Chances are your home-improved P14 or Model 1896 is going to end up costing you more with a new/improved stock, bedding, barrel and chambering, suppressor, bases drilled and tapped, etc, etc.

floor metal
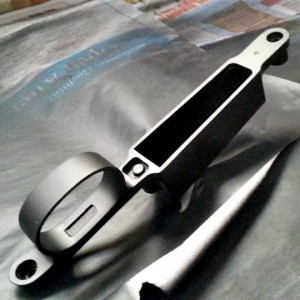
Floor metal from 1943 looking fresh and ready to go.

However, if you want something unique that you can enjoy working on for months – or even years – pick up a donor action to work with. Even an older (pre-1964) M70 or Remmy 700 is fun to use. And the best part is if you buy a complete milsurp, you can probably enjoy shooting it “as is” to start with for very little outlay.

I’ve heard many Tikka T3 owners say their rifle is “boringly accurate”. And that is high praise for any manufacturer. So, at the end of the day, if you want to drill tiny holes into paper or leave gaping exit wounds in deer at 400 yards – get the factory rifle. If you want to feel like you earned your way to shooting sub-MOA or making long-distance kills, a project might be on the cards.

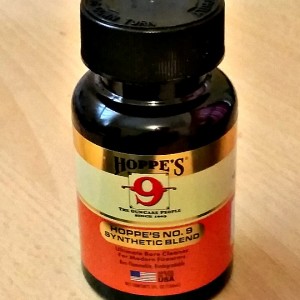
Hoppes No. 9 Synthetic Blend.

Product review: Hoppes No. 9 Synthetic Blend Bore Cleaner

Firearm maintenance is different for everybody. For some it’s a sacred ritual after every trip to the range or field, and for others it’s a chore that’s completed as quickly as possible. Either way, the products we use play a big part. I’ve always liked Hoppes No. 9. To be fair it’s not the best cleaner on the market, but it works – and has done so for over a century.

Development of Hoppes Bore Cleaner

However, according to the Hoppes, it’s this very legacy that has resulted in the new synthetic blend. I say new, but it’s been around for a couple years now. Compared to 110 years – it’s still fairly new I guess. While the original No. 9 was developed to deal with the corrosive nature of the, then, new smokeless powders on the market and used by the military. The new synthetic blend is claimed to be an advancement with the modern firearm in mind.

Hoppes’ website says that the new blend is safe on the materials used in modern guns – and let’s be honest, things have changed in the manufacture of firearms. The manufacturer also states that it is biodegradable and non-flamable – not what you’d expect from your average gun cleaner. It’s nice to know that not everything in your garage is harmful to your health and the environment – so that’s a plus.  It even smells the same – and you know you love the smell of old No. 9.

Superior penetration is another claim made by Hoppes, and this is something that you should get excited about. I’m one of those gun owners that likes to run a wet patch through before storing firearms, and a dry patch through when taking them out – given time to work in the bore, you’d be surprised at how much more fouling will come out. So I really appreciate the fact that the new blend is thicker than the old one.

New and improved

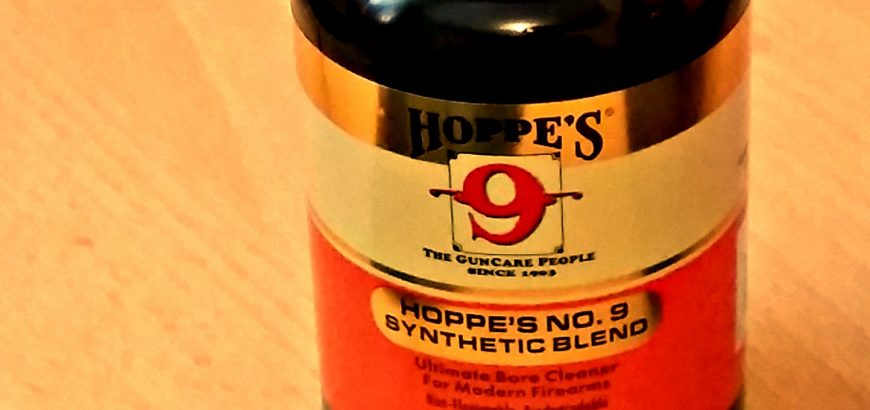
The Synthetic Blend says so on the label - so you won't get confused.
The Synthetic Blend says so on the label – so you won’t get confused.

The higher viscosity of the new blend means it’s more cloying – it clings to the inside of your barrel better. A patch will still clean it out, but what I’m talking about is the ability of the cleaner to work it’s way into the grooves and stay there. You’ll notice when you wet a patch that your cleaner on your fingertips is thicker and stays there if not wipe off, whereas you’d barely notice the old No. 9 and it would evaporate or dry fairly quickly. You may also notice reside when you retract your cleaning rod – more proof that the cleaner sticks where you put it.

I do like Hoppes, and will continue to use the new synthetic blend. I’ll have to do another test against some other bore cleaners in the future, but in the meantime, this is one I’ll stick with.