Should I Loctite my scope bases?

If you’re putting together a rifle for the first time, or you’ve just bought a package deal that was loosely thrown together, you may not be aware of the intricacies involved in proper scope mounting. One of the questions often debated in forums all over the internet is whether or not to apply Loctite to scope base screws, and if so, which colour to use?

Well, I made the rookie mistake of driving three and a half hours to do some target shooting after reassembling a rifle I had coated with a nice new finish. I completely forget to Loctite to the scope bases. I sent a few factory rounds down range to foul the barrel, and got a group size under 2 inches at 100 yards. Sounds about right.

I then painstakingly went through shooting 3-shot groups with my reloaded ammo (I was working up a new load), and watched in absolute horror as my groups opened up to 3 or 4 inches. Thinking I may have overheated the barrel, I gave the old shooting iron a rest and threw some lead downrange with a few other toys while it cooled off.

Taking up the prone position again I looked forward to drilling some really expensive Sierra Matchkings into ragged little holes 100 yards away. No such luck. I was shooting groups that opened up to 7 inches. What the…? I could not figure out how I had screwed up this batch of reloads so badly. Until I adjusted the scope settings for a friend of mine to shoot at 50 yards. Wait – was that a bit of wiggle in the scope mounting? Indeed it was. I had managed to get about $50 worth of ammo down range with no particular success before I realised that my loads were fine – the scope bases had come loose.

Don’t make my mistake

Frustratingly, after driving home for three and a half hours I noticed the blue bottle of Loctite sitting on my gun bench, like a big fat “I told you so” from the universe.

In short, don’t make my mistake – Loctite your scope base screws. I took a perfectly good 1-inch shooter and turned it into a minute-of-dinner-plate loser by forgetting this simple step. And I’m sure my scope didn’t appreciate flopping around like that either.

Make sure your threads are completely clear of debris or grease when you do this. And while some people say red Loctite is okay to use, I prefer to use blue – I find it is much easier to remove. While you may not take your scope bases off regularly, if you want to upgrade or change to a 35 MOA rail, or whatever, you’ll wish you had used the blue variant.
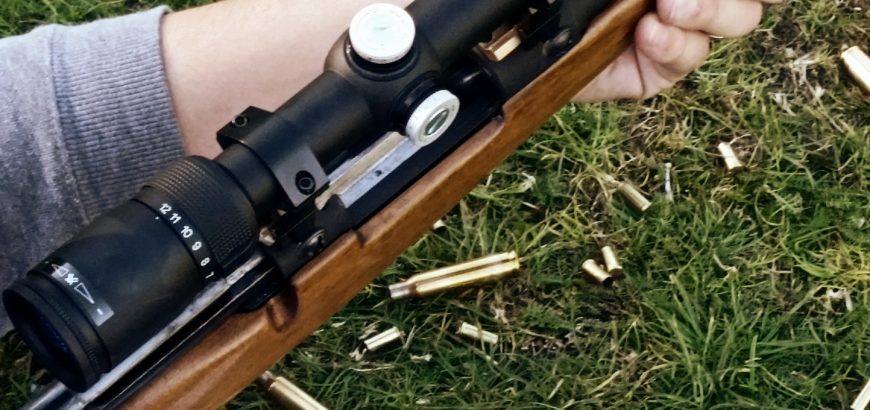
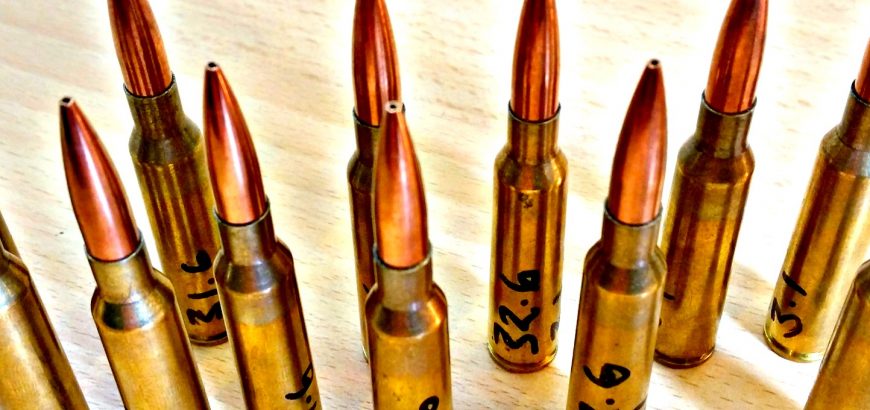
Hand loaded 6.5x55 rounds. Featuring PPU brass and 142gr Sierra Matchkingds.

Check your reloading data. Then check again.

Reloaders are a unique bunch. They represent the line that divides casual shooters and members of the shooting community. Anyone that does any great volume of shooting will reload. So will people interested in achieving the ultimate in accuracy for their particular firearm. Reloading is a unique skill that takes a while to learn, and there are lessons for those who are new to the game. The first one is – check your data.

Check your data before you purchase your components

If you’ve just bought your first reloading kit, dies, shell holders, etc, etc, you want to cracking into producing some highly accurate, super cheap rounds. Hold on. Before you run to your local gun store to buy the cheapest (or most expensive) projectile for your rifle, do some research.

The internet is a vast resource for reloaders. There are plenty of forums that are overflowing with useful data and personal reloading recipes. You’ll also find that most manufacturers will have some load data on their website, or will provide you some by email. This is an authoritative source of information that you can trust.

So, start your search with the forums. Find out what people are using in your particular type of firearm. Certain models, barrels and magazines will have preferences for different weights, seating depths and powders. Once you’ve got a general feel for what would suit your purposes (cheap as chips for plinking, best round for accuracy, great wounding for hunting, etc.), narrow it down to one bullet to start with.

If you’d like some good info on what kind of round is good for your rifle, check out the Knowledge Base at Nathan Foster’s Terminal Ballistics research website.

Check your data when you buy your components

Another great resource is your local gun shop owner or gunsmith. On my last trip the gun store I learned something about conflicting data that I had. I went in to purchase reloading components for my Husqvarna M38 Swedish Mauser. I was armed with reloading data from Sierra (I was purchasing 142 gr Sierra HPBT Matchkings) and data from the powder manufacturer. However, I wasn’t sure on the figures as the powder manufacturer stated a starting load close to the maximum load recommended by Sierra. They also had different seating depths/COALs.

6.5x55 with a 32.6 gr charge and a 3.100" (78.75 mm) COAL.
6.5×55 with a 32.6 gr charge and a 3.100″ (78.75 mm) COAL.

My thought was that the powder manufacturer was trying to sell more powder at the expense of my brass and barrel, but in chatting to one of the sales guys at the local store, we quickly figured out that the powder manufacturer’s specifications were dangerously high for my rifle. The reason being, Sierra’s load was built up for a rifle of similar vintage to mine (the test rifle was Swedish Mauser M96), while the powder manufacturer’s data was figured off a brand new action with a custom built barrel. This made more sense as I realised the 0.050″ difference was to allow for the long throat of the Swede, while modern actions would be a bit tighter.

Whether these rifles were actually used to test these loads or it was done entirely withing a ballistics calculator and other software is unknown to me. Regardless, the same data for the same calibre and projectile came out completely different from two very authoritative sources. So, remember when reloading to always get as much information as possible at every step of the process.

And of course, reloading and shooting hand-loaded rounds comes with risk. Start at minimum loads and work your way up until optimum performance is achieved or pressure signs start to show. If your bolt is stiff on extraction or primers come out flattened or cratered, dial back on the powder a bit.