Service rifle shoot at Waiuku

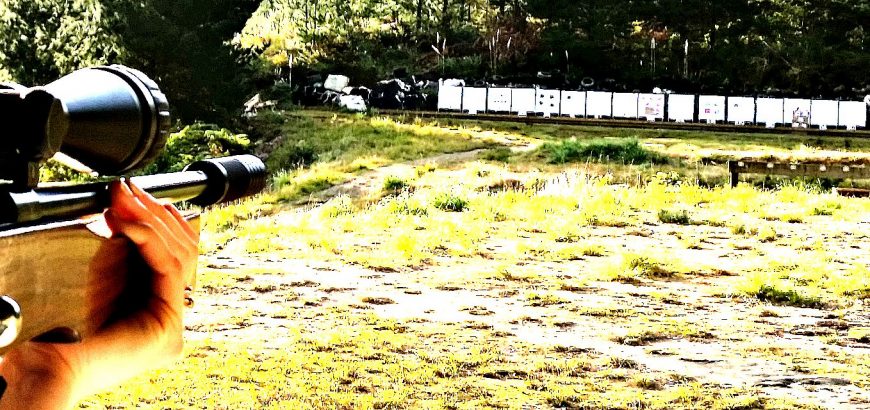
I’ve never had good luck with a shoot at Waiuku. I’ve been to the range twice before and both times been hit torrential rain and gales, making shooting uncomfortable, if not impossible. Well, third time was the charm as I attended the Waiuku service rifle shoot this Saturday past.

Firstly, let me say that Waiuku has great facilities that enable a wide range of shooters to enjoy themselves. It’s also one of those rare clubs where pistol, rifle and shotgun are all welcome. However, I’ll leave a review of the range for another post. For clarity’s sake, this isn’t the same Waiuku range were ASRA does their winter shooting (The Farm).

On to the shoot itself. Well, it’s a 45 round shoot which I was hoping to do with my .303, until I realised that morning that I only had 20 rounds in the safe. With an abundance of 7.62×39, it turned out that the trusty SKS would get a work out this morning.

Service rifle shoot

If you’re into your military surplus rifles, going along to a service rifle shoot should definitely be top of your list of things to do. With everything from WWI Lee Enfields, through to Mausers and AK47s and AR15s, every major armed conflict in recent history was represented.

The shoot was run in two details and as previously mentioned, was 45 rounds. This consisted of a Trinity and Action M match and a 10 round sniper shoot.
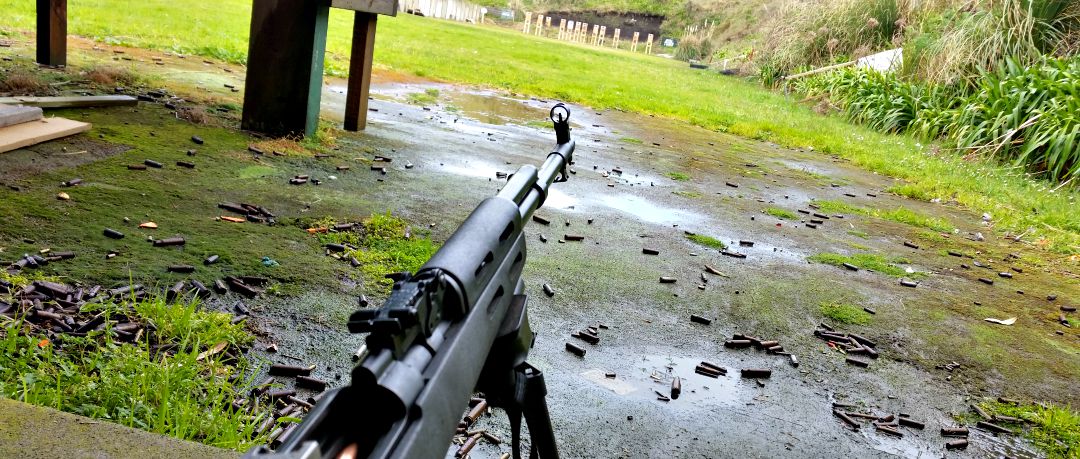
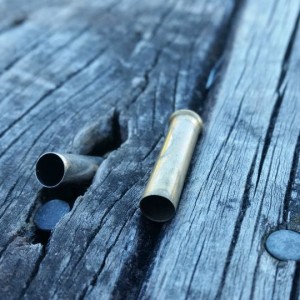
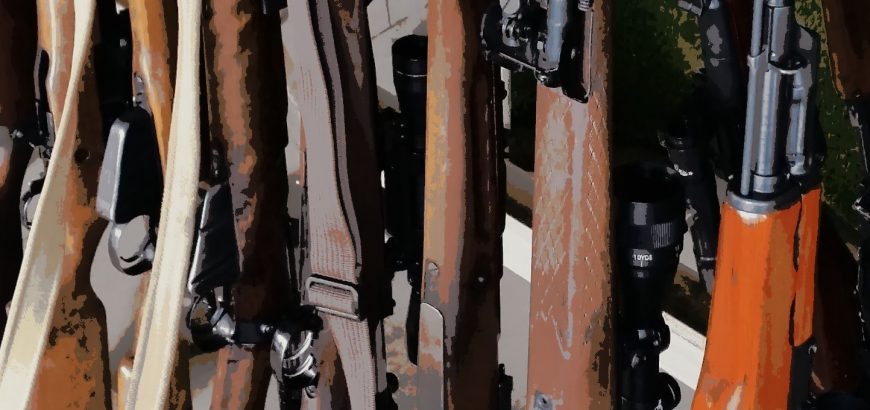
The Soviet weaponry and rusted casings are reminiscent of the Nicholas Cage movie Lord of War.

The trinity shoot is 5 rounds each in the standing, kneeling and prone positions. With no sighters or spotting scopes, you’ve got to know you’re rifle well. The SKS performed well, but was shooting low – which was more me than the rifle, as my wife was shooting too high with the same gun. One thing I may consider doing in the near future is replacing the front sight post with a skinnier one that doesn’t blot out the entire target. Those rifles that were scoped were limited to a magnification of 4x.

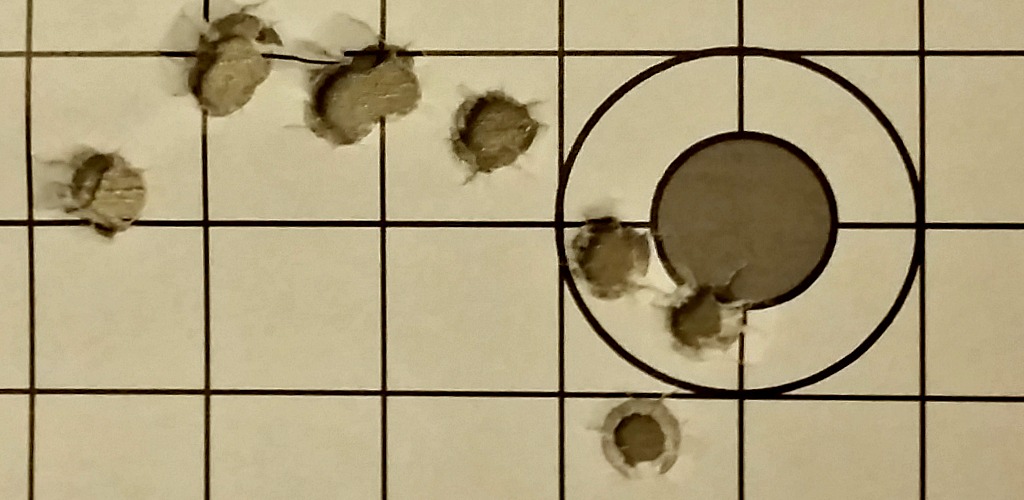
After those fifteen rounds, targets were checked, which is when a few of us actually got to see where our rounds were going. For myself, another shooter with an unsighted SKS and another with a new suppressor on his AR, the results were less than stellar.

The next ten rounds allowed us to compensate where we needed to, but the faster pace and movement involved in the Action M shoot means you can’t spend too much time trying to compensate, especially with open sights at 100 metres.

An Action M is usually shot in 60 seconds (at least it was when I last shot one at the Auckland Service Rifle Assn), and consists of 2 rounds prone, 2 rounds standing, one kneeling – reload another 5 round mag or clip – one kneeling, 2 standing and 2 prone. It’s 75 seconds for bolt actions, which is okay if you have a removable box magazine or stripper clips. However, when I shot this last with a Swedish Mauser and no stripper clips, it was certainly challenging. The rules for different types of matches are made by the NZ Service Rifle Association.

In light of the range of rifles and abilities present on the day, and the generally non-competitive nature of the shoot, no strict timing was done, although everyone went as quickly as they could.
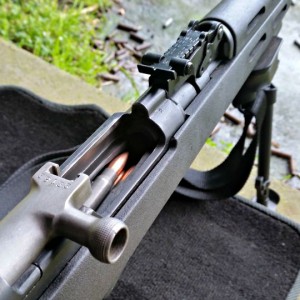
SKS on bipod
The sniper shoot allowed for rests or bi-pods. Handy hint; your car’s floor carpeting can be used if you forget your shooting mat.

The last ten rounds was a sniper shoot which allowed shooting aids, such as rests, bi-pods and spotting scopes – this is where many people were able to turn the tables – despite the smaller targets. Having someone spotting for you is also very helpful when you’re on iron sights.

Although I didn’t place highly, I did enjoy the day and seeing all the old relics shooting (and their rifles too). About a third of the shooters were from HSSRC, so there were some friendly faces, and a few us enjoyed shooting some silhouettes with the rimfires on range 2 afterwards. All-in-all, for $20 and the cost of ammo, a good day was had all round.

Finishing the day off with some silhouettes at 25, 50, 75 and 100 metres was good fun.

Cutting down a .22

Sporter barrels on .22s are usually long and thin. This means they’re lighter when carried in the field, but they can also be whippy and harder to control than bull-barrelled rifles. Another way to achieve that relative stiffness in the barrel is to reduce the length of it.

I’ve had two Norinco JW-15s, and while the 22.5-inch barrel is okay, the 16-inch barrel is a real shooter. If you head on over to nzrimfire.com you’ll find plenty of people who have taken full length Norincos and cut them down to as little as 13 inches with great success. I guy I used to shoot with cut his down to 14 inches and found no drop off in accuracy.

Thankfully in New Zealand there are no minimum barrel length laws, just minimum overall firearm length rules – which means you can take full advantage of this, and make your rifle more manoeuvrable, easier to get in and out of your truck and pretty accurate to boot. In the video below I’m shooting an old Voere that I bought for parts – the barrel has been cut down to 8 inches and lets out a little burst of flame with standard velocity CCI.

So, what is the trade off with cutting down your .22? Well, you can burn off all the powder in your average .22LR case in about 12 – 13 inches of barrel. However, you still won’t have achieved maximum muzzle velocity. You’ll also get more variation in muzzle velocity, as the longer barrels allow for a more consistent burn, resulting in a more consistent muzzle velocity. While you can still gain a lot more speed out of a longer barrel, 16 inches is often said to be the “sweet spot” for .22s.

.22LR cases on bench
The humble .22LR doesn’t need too much barrel to burn it’s full powder capacity.

After that point, muzzle velocity still increases, but in much smaller increments per inch, and your follow through becomes much more important. I suppose if you wanted to teach yourself excellent shooting habits, a target rifle with a 28 or 30-inch barrel would be ideal. However, if you just want a nice shooter, go for a 16-inch tube, or do it yourself if you have the confidence/competence. Some manufacturers do release 13 and 14 inch options for their rifles (Anschutz has a 14-inch sporter), however, if you’re doing the job yourself, give it the extra couple inches to be on the safe side. I guess I should put my money where my mouth is and trim down that 22.5-inch Norinco… Oh well, add it to the list.

Should I clean my .22LR barrel?

There are many opinions, myths and vagaries about rifle cleaning. Some will tell you to clean and polish your bore after every trip to the range, others will tell you cleaning your rifle is a waste of time or a bore snake will do the trick. However, one thing’s for sure – maintaining your .22 is completely different.

What’s the difference?

Whether it’s rimfire or centrefire, some fouling is often needed to get a barrel shooting to the same, reliable point of impact. Lead rimfire projectiles are much softer copper-jacketed bullets, doing minimal damage to the bore, and the lead deposits left in the barrel don’t do any harm either. Copper not only wears down the barrel, but leaving it in the bore can lead to quicker deterioration of the rifling after subsequent shots.

So, the question then becomes – if fouling is good and lead isn’t harming your barrel, why would you clean your .22?

This picture shows how a clean barrel walks to its point of impact once it fouls up.

How often to clean your .22LR barrel

I don’t personally clean my barrel very often. The standard is “when accuracy starts dropping off”. And to be honest, I’ve never got to that point. I give my .22 a couple pulls through with the bore snake and some Hoppes No. 9 after a couple thousand rounds – give or take a few. But, lead crud is nasty on the action.

I mainly shoot bolt action when I’m shooting rimfire, which means I can feel when the bolt starts getting stiff or it doesn’t feed nicely. Semi-autos tend get gummed up a bit more, as gasses from firing come back into the action. What to do? Use some bore solvent and angled brushes, cotton swabs or cloth to clean the gunk out. Every now and then disassembling the bolt or action could be necessary to ensure reliable functioning. Some shooters also like to clean up the crown, however, I shoot with a suppressor, so I’m not super-fussed on that score.

If you have any questions or tips for cleaning your rifle – share them in the comments below.

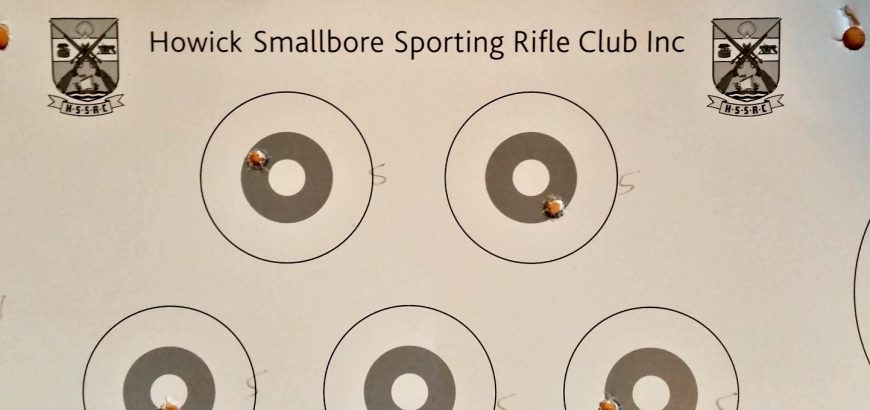
Regular target at HSSRC

Where to shoot in NZ: HSSRC

If you’re new to shooting – perhaps you’ve never seen a rifle up close – learning more about the sport can be daunting. The best way to go about it is to find a local club where you can develop your knowledge and trial different equipment before buying your own. You can also get a feel for different shooting disciplines and even competition, to see what most piques your interest.

A great place to get started is the shooting range in Howick. If you’re in East Auckland it’s a convenient place to shoot, and it’s fully indoors which is great in winter. There are quite  a few different clubs operating out of this range, including a couple sporting smallbore clubs, a target shooting club, air rifles and a pistol shooting club as well.

My favourite organisation at this range (and I’ve tried almost all of the options on offer), is the Howick Smallbore Sporting Rifle Club (HSSRC). It’s an extremely friendly environment and has a wealth of experienced shooters willing to lend a hand. The range is great and the club equipment is very good – the shooting fees are cheap too. You can hire a rifle, pay your range fee and pay for your ammo for less than a movie ticket – not a bad way to spend a Friday evening. You’ll also be fully supervised (if you’re unlicensed) throughout the shoot with full instruction – easy as!

Moving on in the club, you can participate as a range officer or assistant range officer, or help new shooters as well. You can also participate in the inter-club tournament and the club fun shoots and end-of-year prize shoot. There are plenty of opportunities to get involved, which you’ll find out as you go along. You’ll also find most shooters here engage in a couple different disciplines, and can not only help you with your shooting technique, but can also point you towards other clubs and competitions you might enjoy.

If you’re looking for a good place to learn, or you’re new to the area and already a competent shooter, this could be the place for you.

The club shoots on Friday evenings from around 7 pm onwards, and has plenty of gear available. You can also purchase ammo at very reasonable rates. Once you become a member (which doesn’t cost much at all), your weekly shoots and ammo will be even cheaper. If you’d like more info, leave a question in the comments below, or head on over to the HSSRC facebook page.


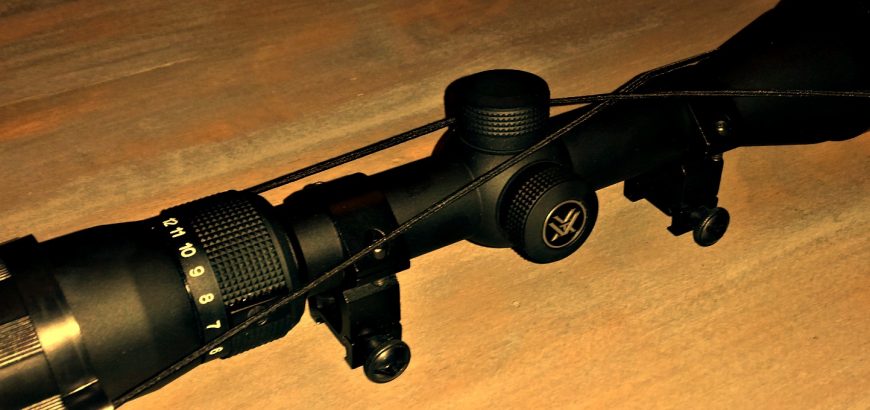
Vortex Diamondback scope

Product review: Vortex Diamondback 4-12 x 40 BDC

Firstly, buying this scope was a mistake. But it’s a mistake I’m very glad I made. I intended to buy the adjustable objective version of the Vortex Diamondback 4-12 x 40 BDC, but ended up with the fixed-parallax type. I couldn’t return to the store and swap it, because I had just left the country where I purchased it.

With the AO version, my idea was to use it at its maximum zoom at a 25 yard range on a rimfire target rifle. However, without that AO bell, the scope just won’t focus at 25 yards at any magnification greater than 8 x or 9 x. So, I reluctantly told my wife we’d need to take this brand new scope off her rimfire rifle and put it on my 6.5 x 55 that was in need of some glass. This is the point where I’m glad this happened.

The technical specs

The parallax setting on this scope is 100 yards – perfect for getting sighted in at the range, and more than adequate for the average hunting shot in the New Zealand bush. The adjustments go out  60 MOA in elevation and windage. With my 6.5 x 55 it was pretty much bang-on at 100 yards, maybe a total of 7 clicks left and a few up or down, I can’t remember. If you’re aiming to shoot long distance (600 – 1000 yards) you’re probably going to want to mount this on a 20 MOA rail.

The Bullet Drop Compensation (BDC) points are graduated in MOA, and so is your turret adjustment. How many times have you bought a mildot scope and found out later it has MOA turrets? So, this is nice to know right off the bat.

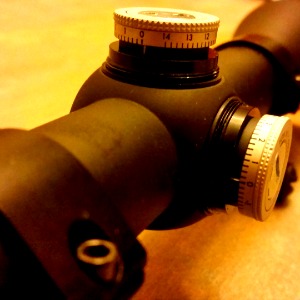
Vortex Diamondback scope with caps off.
The turret markings are easy to see from behind the gun.

The turrets are capped and resettable. This is nice, as now that I have my zero I can use the windage or elevation adjustments to my heart’s content without worrying about getting my 100 yard zero perfect again. The caps are nice and low and are easy to grip. Be careful when resetting the zero that you don’t damage the turrets, as I found them to be very tight and had to hold them in place with vice grips while I used a screwdriver to loosen the turret. Any extra pressure while doing this and you could have tool marks on your nice new scope. I covered the surface of my grips with masking tape to prevent teeth marks.

You have a total of 5 points of vertical aim, including the crosshairs and the top of the post. You also have 3 hash marks either side of the crosshairs horizontally, as well as the post edges. How to use the BDC? Check out this video from Vortex.


Quality and ease-of-use

The scope has the usual things that manufacturers claim, such as fog-proof, shock-proof and weather-proof everything. Except, this scope really does. I have mounted two scopes on this rifle – the other I won’t name. The unnamed piece-of-junk was used on one range trip for about 3 hours. Yes, there was wind, rain and sun. When I took it off to mount the Diamondback I noticed that the unnamed scope’s exterior coating was peeling off. After one trip!

Subjected to the same conditions, the Vortex scope still looks brand new. That’s probably why they provide an unlimited, unconditional warranty. Which, to be honest, is half the reason I bought it – that shows confidence!

The clarity was exceptional, and the lense coating wasn’t just for show. I had plenty of light, no glare and just a great shooting experience. The scope also features a fast focus adjustable eye-piece with a decent amount of range on it. This was perfect for when different shooters wanted to try it out. Also, the markings on the turret are easy to see without changing your shooting position much – which is not something I can say for every scope in my safe.

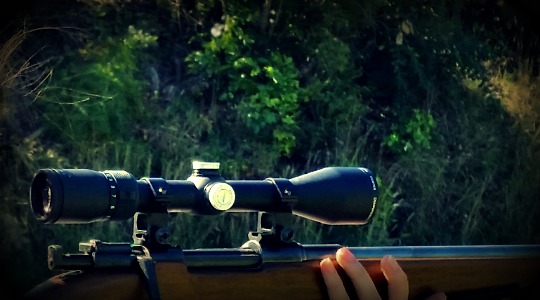
Vortex Diamondback scope on M38 Husky.
Adjustments on the range are done with ease.

Quality of manufacture is something that really shows when you shoot at an outdoor range. It’s also something that greatly determines how long a scope will last and whether you’ll enjoy shooting with it or not. In my humble opinion, the Vortex range is excellent. They are also reasonably priced. In the USA (where I bought mine) they were very affordable. In NZ, they are probably middle of the road. Either way, still worth it for the high-quality optic you’ll be getting. I would definitely purchase another scope from their range.

You also get some handy extras with your scope. There are the standard removable lense caps and a *really nice* cleaning cloth. I would suggest making use of Vortex’s incredibly intricate Long Range Ballistics Calculator. Not only will you be able to figure out your elevation and windage hold, but you’ll probably convince yourself to buy some new rifle while you check out all the ballistics tables you can produce for just about every calibre known to man.

You know the old addage of spend as much on your glass as you do on your rifle? Well, this is one scope that breaks that rule. I would happily mount Vortex optics on rifles that would generally be seen toting the latest Swarovski or Leupold glass.

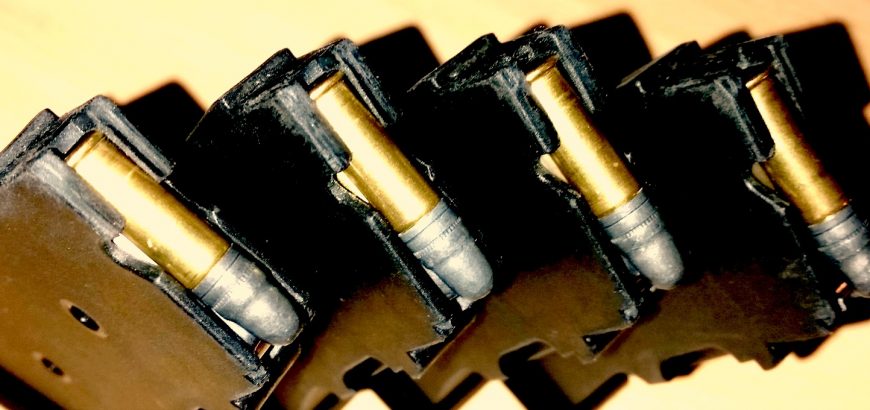
Four loaded CZ 452 magazines.

Disassembly of CZ 452 Magazines

Any smallbore range across New Zealand will have a few CZ 452 magazines floating around. Whether they’re attached to a Brno Model 2 or Norinco JW-15, these magazines hold up to thousands and thousands of rounds being put through them. Occasionally – you might even think about cleaning them.

How often to clean your CZ 452 magazine

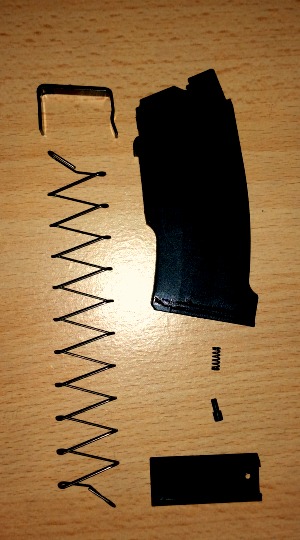
Disassembled CZ 452 Magazine
The spring-loaded button needs to be handled with care.

Simply put, not that often. There’s lots of discussion around how often you should clean a rimfire rifle. Some like to clean after every trip to the range, but I personally prefer not to clean that often.

I find that that once a rimfire barrel has been fouled it shoots more consistently. That’s my experience anyway. Cleaning every trip undoes this fouling and means wasting ammo before every shoot getting it fouled again. So, when do I clean? When accuracy drops off, or when feeding becomes slightly tougher. Usually, the latter strikes first.

I take the same approach to my magazines. I clean when feeding becomes an issue. I usually use multiple magazines and consequently they don’t get fouled that quickly. If I haven’t had any issues by the time I give my rifle a birthday, then they get a clean too. Might as well.

Disassembly and reassembly of the magazine

Pulling apart the CZ 452 magazine is very easy. They’re well made and there are no sharp parts or difficult processes involved.

At the base of the magazine there is a small dimple. Inside here is a spring loaded button. Press is down with a pen, nail or punch and slowly slide the base off the magazine. I say slowly because if you’re not careful, the spring will shoot that little steel button out. Good luck finding that again.

To get the spring and button out, cover them with your thumb while you slide the magazine floor off, and slowly release them into your hand. Next, pull the main magazine spring and the follower out. Take note of which way the follower is facing – it needs to go back the same way.

Cleaning is simply a matter of wiping everything down. You can dowse the spring and follower in Hoppes No. 9 if you like. A quick squirt of gun oil once everything is clean and dry isn’t the worst idea either.

Assembly is pretty easy, it’s the exact opposite. Again, be careful you don’t lose the spring or steel button.

Any questions? Post a comment.

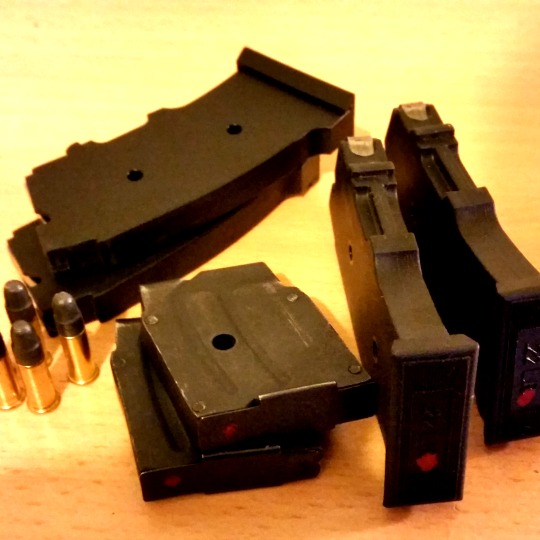
CZ 452 and Norinco JW-15 magazines with 22LR rounds.
Because CZ and Norinco mags are quite common, I marked mine with my wife’s red nail polish to make them easily identifiable.