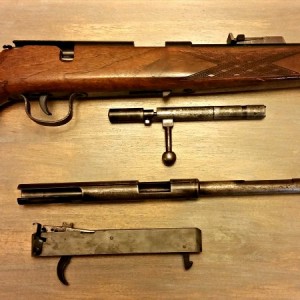
In the first part of this blog series, I looked at the rifle stock I’ve chosen for this project – Boyds Prairie Hunter – as well as the bedding compound I’ll be using – Matchgrade Bedding Compound. In this piece, I’ll go over the initial fitting of the stock, and the bedding process.
Prepping the stock
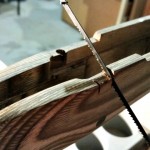
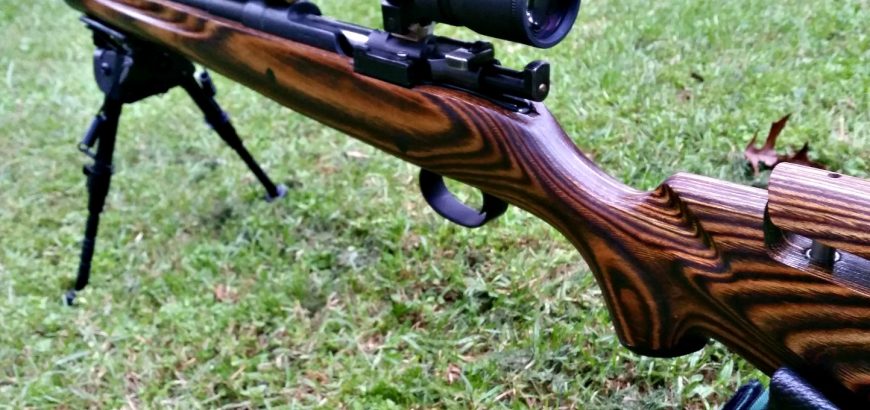
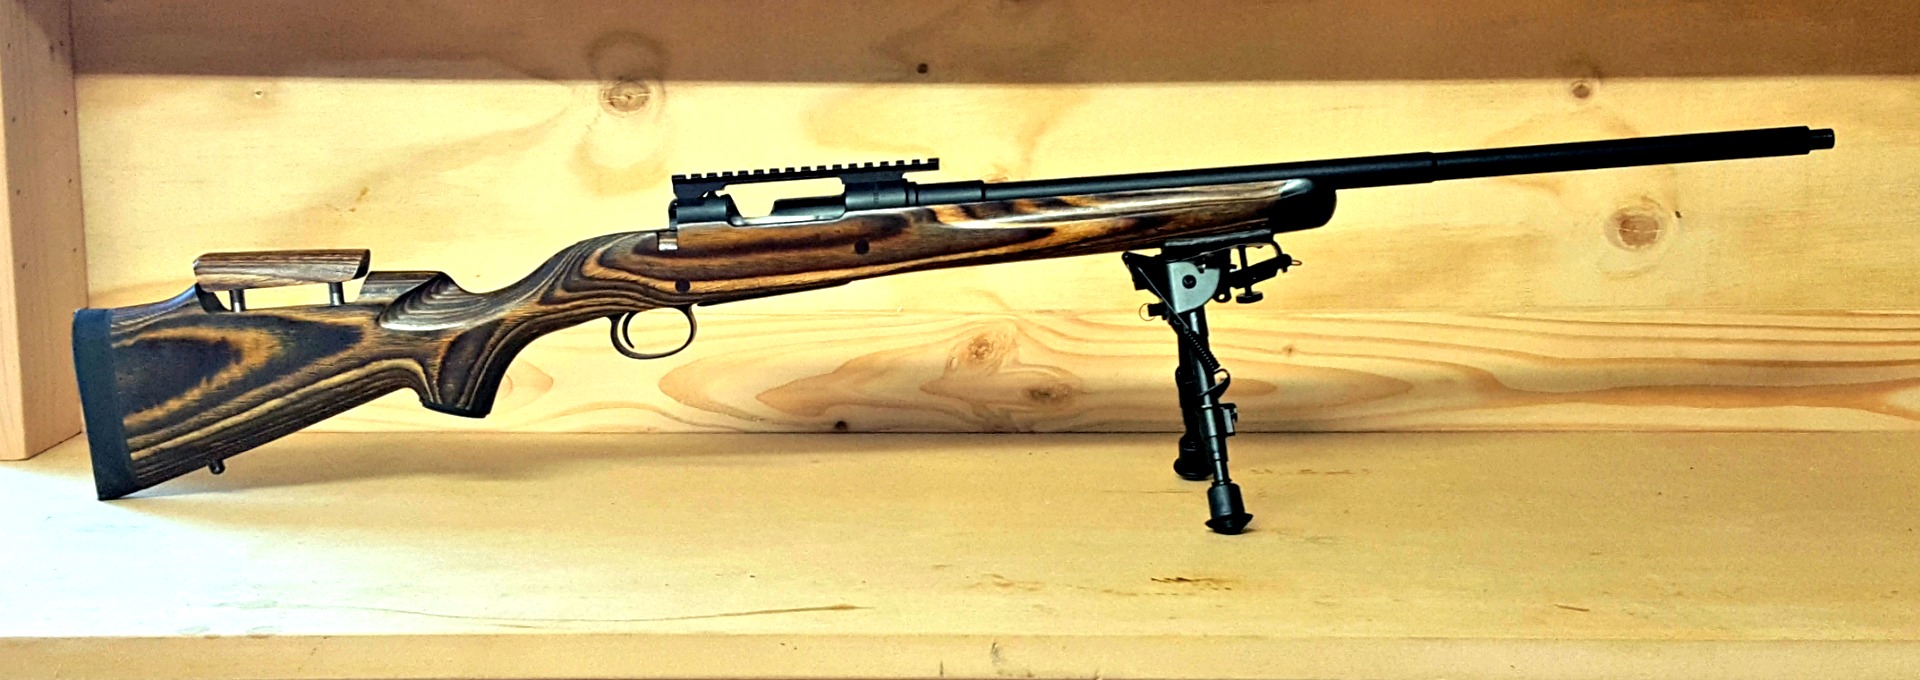
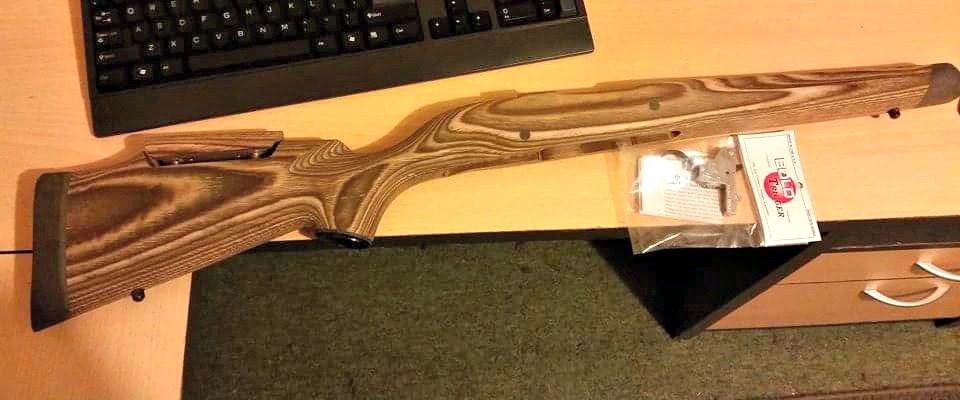
Whether you choose to bed your stock or not (you should choose to 99% of the time), your stock may need some prep work. The Prairie Hunter is quite a classic shape, with a nice cheek swell and elegant lines forward of the action. Supplied with sling swivels and a nice butt pad already in place, there’s not much you need to do to get this stock looking great.
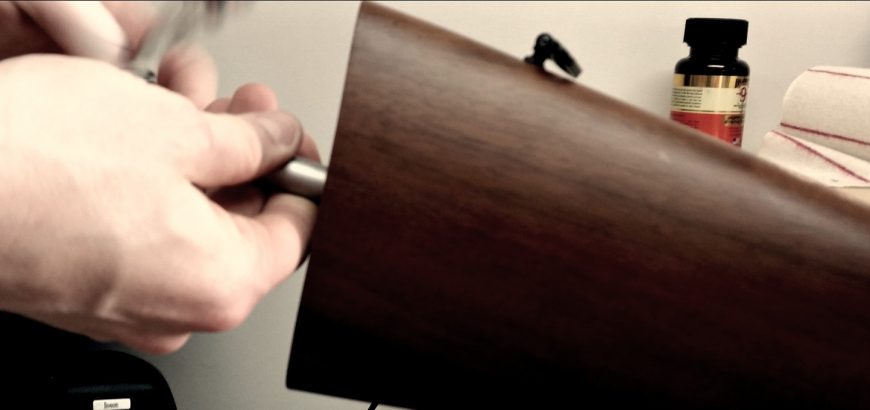
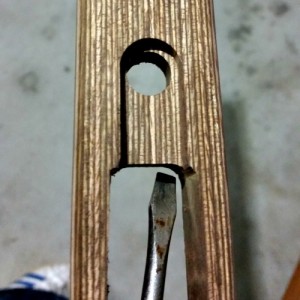
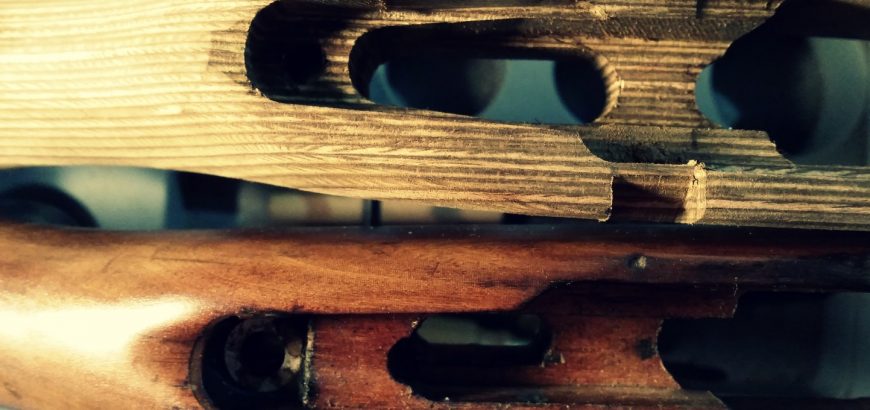
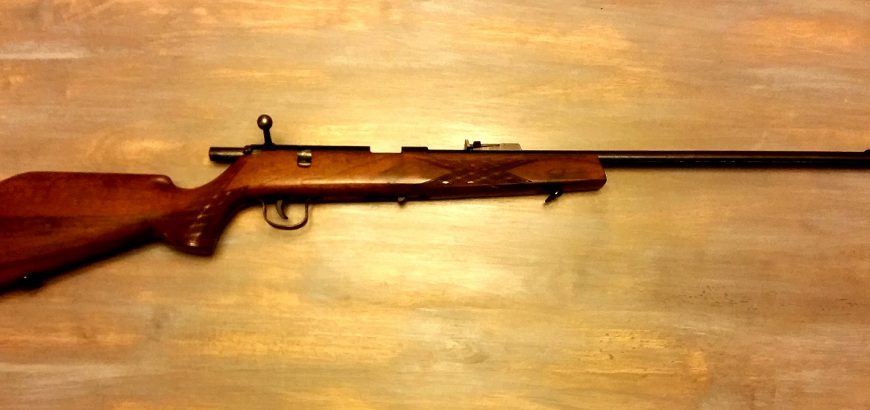
Because of my model of rifle, I had to remove material to provide the clearance for the bolt handle. For this reason, my stock was provided unfinished (uncoated). Fortunately, with the bent M38 handle, there wasn’t much to take out. I simply used a hacksaw blade to achieve the angle and depth of of relief needed, and removed the material between the two cuts with a small file, and then some sandpaper. By doing the two cuts on the outside, the relief is quite crisp and even.
Next I had to deal to the plastic nose cap. There are several options you can go for here, ranging from the synthetic (cheapest), through to rosewood and others. Of course, for a more simple appearance and cheaper project, you may choose to exclude this option.
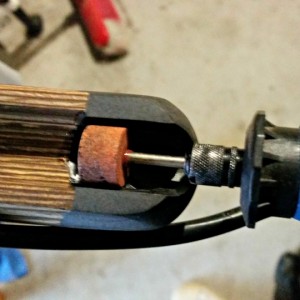
The nose cap and the pistol grip cap where both ground to fit, however, the barrel channel of the nose cap needed some relieving to ensure the barrel is free floating. These caps are obviously produced to allow for common barrel dimensions without having excess clearance, which would look terrible and accumulate dust and grime in the field. So, in this sense, having to clear this out for your particular barrel shape is actually a benefit, as you can ensure you have a free floating barrel, with a minimum of clearance to keep your barrel channel free of any foreign debris. Of course, you’ll want to make sure it matches up nicely with the lines of your stock.
Aside from that, my Boyds stock was good to go. However, as I’m bedding this rifle as well, I chose to leave the final coating of the stock for after the bedding process. This way, any spilled bedding compound or other marks can be easily removed when I do the final sanding before oiling the stock.
Glass bedding the action
The term ‘glass bedding’ comes from the fibreglass-like products that were used in the past to mate barrelled actions to their new homes. Material choice has improved in leaps and bounds, however there are a few prominent bedding systems that seem to have really got it right.
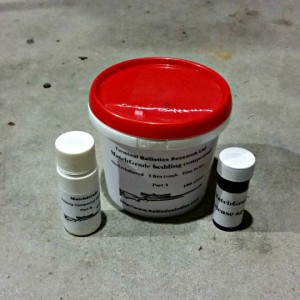
There are a couple that you can find on Brownell’s (if your in the states), or Gun City, Reloaders, Serious Shooters, etc., in New Zealand. However, far and away my most preferred bedding compound is Nathan Foster’s Matchgrade product. It’s easy to use and provides a solid and stable platform on which to achieve repeatable and accurate results with your rifle.
The first time I used this product it came with printed directions, which I have stashed in my drawer somewhere. The second time it came with a basic info sheet and instructions to find the directions online in a PDF. To be honest, I think this is great. It saves on paper and keeps the cost of the product from increasing, but also, it’s so much easier to use your phone to view instructions.
When using your phone or laptop you can use ‘Ctrl + F’ to find exactly what you’re looking for.
In the thick of it
I won’t waste my time repeating Nathan’s instructions, which you can find here, but there are certainly some points to note.
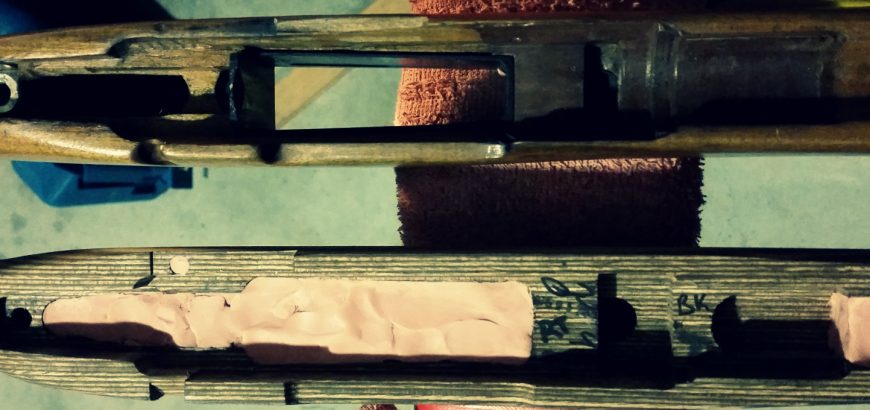
Bedding a rifle is pretty much a one-time job. Undoing a crappy bedding job is an immense amount of work, and the cured product will harden like steel to whatever surface it is on. For this reason, you need to have your barrelled action and the stock completely prepared beforehand.
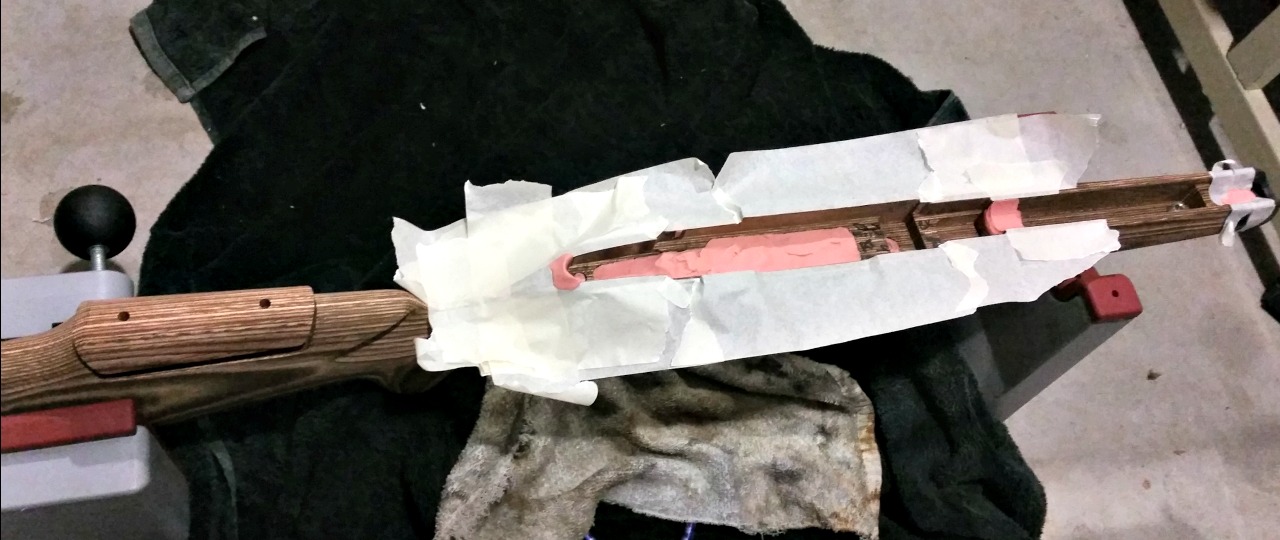
The stock will need to be dammed up, so the compound doesn’t run through the action screw holes, the mag well or down the barrel channel. The action needs to be protected with masking tape and graphite to ensure it doesn’t end up permanently glued into the stock. You also need to ensure that the bead of bedding compound around the action doesn’t creep over the tang or into the ejection port – trapping the action.

You also need to make sure your working space is completely ready for all stages. You need to be able to keep the compound at a reasonable temperature (no problem in this summer heat) for it to cure properly. However, in winter, this can mean heaters, hot water bottles or any number of weird contraptions. I tend to make a tent of sorts over my workplace once complete (it’s hard to shift the rifle to a different area once you have poured the compound), and use a small heater to warm it up.
Now’s the hard part – you need to be patient and wait for it to cure. In the next part of this series we’ll look at getting the rifle out of its mortice, and how to finish the stock up to a beautiful satin sheen.
