Bullet selection for hunting this roar

For many young girls and guys around the country, this roar will be their first opportunity to hunt – or at least to hunt some of the more prized species New Zealand has to offer in their prime coats and colours. While a shooter may be proficient with their weapon of choice, this does not automatically make them a good hunter.

Aside from the bushcraft, fitness and stalking involved – not to mention antler-induced-excitement behind the trigger – a serious consideration is the choice of ammunition. Fortunately for those shooting a more common calibre, there is plenty of off-the-shelf ammo that will do the trick. If you don’t intend to shoot much aside from sighting in and hunting, then buying ammo makes much more sense than reloading.

Bullet choice in New Zealand

Some common hunting calibres in New Zealand include .308, .303, .223, 6.5×55, 7mm-08, .243, .270, .260 and .30-06. To a limited extent the old Russian military calibres see some use (7.62×39 on goats or yearlings at close range or 7.62x54R if you’re running around with a sporterised Mosin-Nagant). And .300 BLK is becoming quite popular for goat culling or in short-range (but fancy) bush guns.

If you’re buying ammo for more common calibres like .308 or 7mm-08, your store owner’s recommendation will likely be good enough. Remington Core-LOKT and Winchester Power-Point are popular choices, and Hornady Whitetail does very well in most modern bolt actions too. However, for reloaders who have been chasing accuracy, bullet choice can change the game completely.
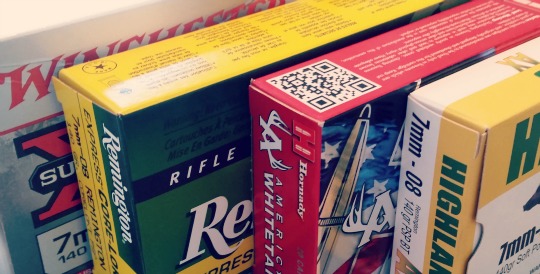
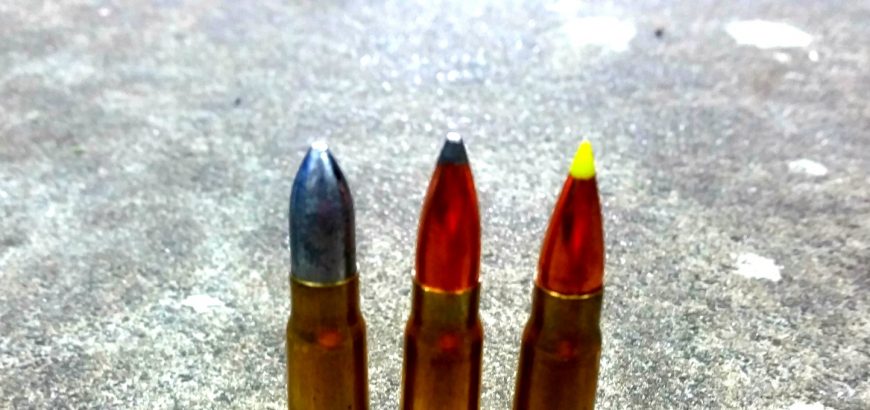
Some of the more common 7mm-08 hunting choices.

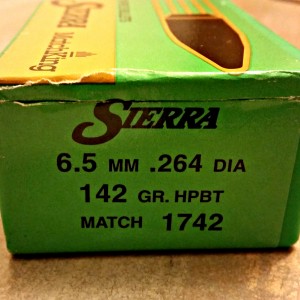
For example, with my 6.5×55 a 142 gr SMK or 140 gr AMAX does a beautiful group at 100 yards. In fact, my new favourite is Norma-Sierra 144 gr – it’s a factory load, but I can’t seem to beat it with the projectiles I have on hand. However, all of these loads have hit-and-miss performance on game. The AMAX less so, but certainly the SMKs are not meant for hunting. They have erratic terminal performance, sometimes yawing and producing massive wounds, sometimes producing pinhole wounds that can lead to inhumane kills and extended tracking of wounded animals.

But isn’t the Sierra Match King a hollow point? Yes it is, however the HP in this projectile is not designed for expansion on game. This hollow section in the bullet is to keep weight to the rear of the bullet, stabilizing it in flight and making it a more accurate round.
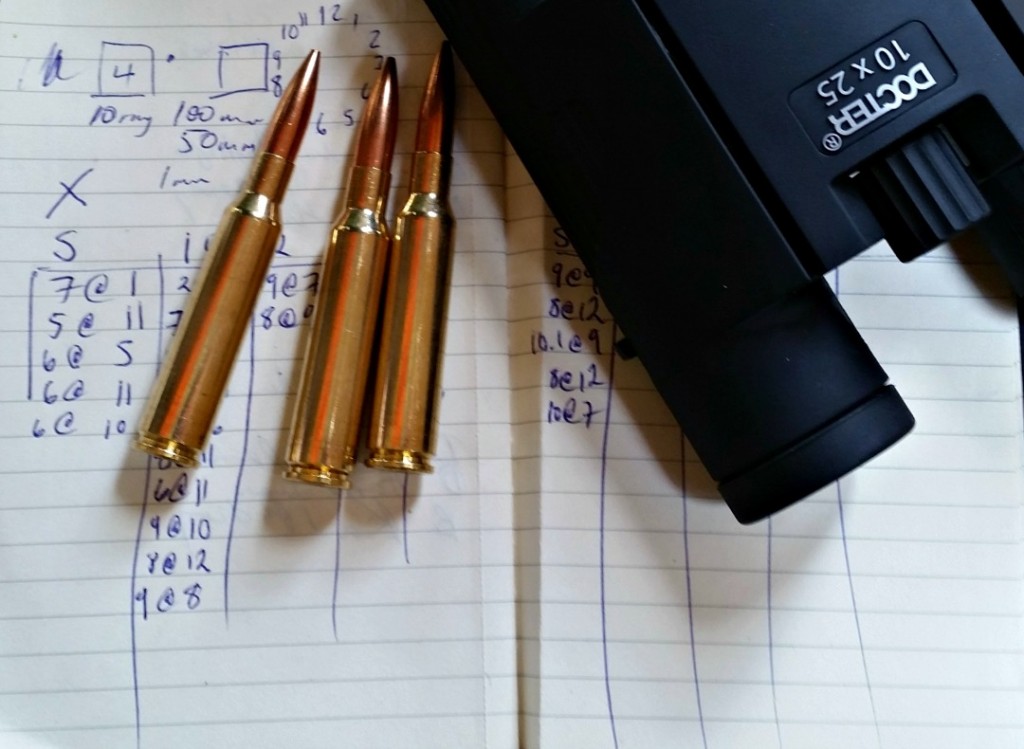
The SMK looks great on paper but does not produce consistent wounds.

Factors like this need to be considered carefully, especially in calibres with higher sectional density, which can lead to deep penetration, but poor expansion if bullet choice is incorrect. This can be prominent in the 6mm and 7mm calibres.

If you’re about to start working up your hunting load for this year’s roar and do some quick sighting in, there are a few ways you can narrow down your bullet selection. You could start by checking out the forums or facebook pages and seeing what others with your rifle/calibre have been using. Or you could start by doing some research on sites like Nathan Foster’s Terminal Ballistics, or checking out the projectile manufacturer’s website. If you are the type to learn better by doing rather than reading, try a sampler pack from Gunworks to get a few different projectiles through your rifle and find its sweet spot.
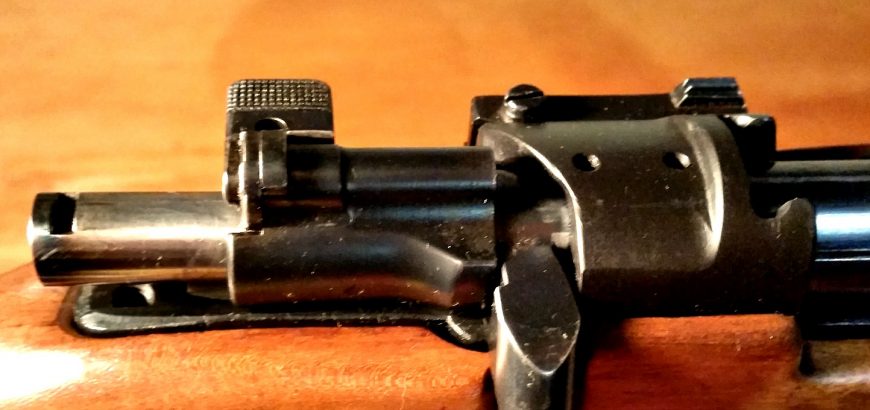
Modified M38 bolt.

Why I will never use my safety

If you’ve gone through the effort of getting your firearms licence, you’ll have come across seven neat rules that should dictate the way you handle guns for the rest of your life. These are the foundation of the arms code and are as follows:

Rule 1: Treat every firearm as loaded
Rule 2: Always point firearms in a safe direction
Rule 3: Load a firearm only when ready to fire
Rule 4: Identify your target beyond all doubt
Rule 5: Check your firing zone
Rule 6: Store firearms and ammunition safely
Rule 7: Avoid alcohol and drugs when handling firearms

You’ll notice, not one of these is “apply the mechanical safety on your firearm”. Why is this? Mechanical objects fail due to wear and tear, extreme conditions and pure bad luck. If you’ve read the instruction manual that comes with your new rifle or shotgun (highly recommended activity), you’ll notice that while new and improved safeties are always created for weapons and mentioned in these manuals, they usually discourage you from relying solely on these little switches.

How does a safety work?

There are two ways that most safeties work. The first is that they block the trigger from being pulled back, or even disconnect the trigger mechanism. The other is that they block the striker or hammer from moving forward and contacting the firing pin. There are many, many other types of safeties, and they can be in different places on your firearm, but they all have one thing in common – they are small bits of material upon which a large responsibility hangs.

That is why you never rely solely on a safety. Now – this my preference – I prefer not to use the safety at all. Some ranges will require your safety to be applied, and that’s fine. But, I personally don’t want to build up a reliance on a little switch.

What do I do instead?

When on the range and not using the rifle, I have it pointed in a safe direction with the action open, magazine out (or empty) and a breech flag in the chamber. This indicates to everyone that firearm is unloaded and safe.

When carrying a firearm to or on the range, same applies. Magazine out or empty (if fixed), and safety flag in or thumb in the chamber – muzzle pointed in a safe direction.

When firing on the range – well, you’re firing. What good is a safety when you want it to go bang?

When carrying a rifle in the field… This is where it gets a bit tricky. I leave my ammunition in my pocket, as well as my bolt if it’s a bolt action, until I’m near where I want to be shooting. When I am in the area in which I want to shoot, I fit the bolt (or close the action on a semi), and load the ammunition.

At this point, I do not chamber a round. I close the bolt on an empty chamber by pushing the top round down with my thumb or inserting the magazine on a closed bolt. When you’re ready to line up your shot, rack the bolt and get ready to squeeze the trigger.

If your quarry eludes you – drop the magazine out and remove the chambered round. Double check to see there’s nothing in there and close the bolt on an empty chamber before inserting your magazine again. Or, push the top round down on your bolt action.

This is just my personal procedure – you may have different feelings on the matter, or experience to the contrary. Leave a comment below with your tips on firearm safety.

Check out the arms code here.

Cutting down a .22

Sporter barrels on .22s are usually long and thin. This means they’re lighter when carried in the field, but they can also be whippy and harder to control than bull-barrelled rifles. Another way to achieve that relative stiffness in the barrel is to reduce the length of it.

I’ve had two Norinco JW-15s, and while the 22.5-inch barrel is okay, the 16-inch barrel is a real shooter. If you head on over to nzrimfire.com you’ll find plenty of people who have taken full length Norincos and cut them down to as little as 13 inches with great success. I guy I used to shoot with cut his down to 14 inches and found no drop off in accuracy.

Thankfully in New Zealand there are no minimum barrel length laws, just minimum overall firearm length rules – which means you can take full advantage of this, and make your rifle more manoeuvrable, easier to get in and out of your truck and pretty accurate to boot. In the video below I’m shooting an old Voere that I bought for parts – the barrel has been cut down to 8 inches and lets out a little burst of flame with standard velocity CCI.

So, what is the trade off with cutting down your .22? Well, you can burn off all the powder in your average .22LR case in about 12 – 13 inches of barrel. However, you still won’t have achieved maximum muzzle velocity. You’ll also get more variation in muzzle velocity, as the longer barrels allow for a more consistent burn, resulting in a more consistent muzzle velocity. While you can still gain a lot more speed out of a longer barrel, 16 inches is often said to be the “sweet spot” for .22s.

.22LR cases on bench
The humble .22LR doesn’t need too much barrel to burn it’s full powder capacity.

After that point, muzzle velocity still increases, but in much smaller increments per inch, and your follow through becomes much more important. I suppose if you wanted to teach yourself excellent shooting habits, a target rifle with a 28 or 30-inch barrel would be ideal. However, if you just want a nice shooter, go for a 16-inch tube, or do it yourself if you have the confidence/competence. Some manufacturers do release 13 and 14 inch options for their rifles (Anschutz has a 14-inch sporter), however, if you’re doing the job yourself, give it the extra couple inches to be on the safe side. I guess I should put my money where my mouth is and trim down that 22.5-inch Norinco… Oh well, add it to the list.

3 gifts you can buy for a shooter or hunter

It can be hard to find the perfect gift for someone. It can be harder if they’re into shooting and you’re not – harder still if you don’t have a firearms licence and can’t legally purchase the things they would like. However, there are a few go-to things you can consider, and they won’t break the bank either.

Things made out of ammo that aren’t ammo

Shooters like things that go bang. However, the next best things might be something that looks like it goes bang. However, not all mementos are created equal. Ask any golfer, and they’ll tell you every year they get terrible golf-club or golf-ball shaped items to bury in a draw somewhere. Every now and then they get something that’s actually kind of cool. It’s pretty similar for hunters.

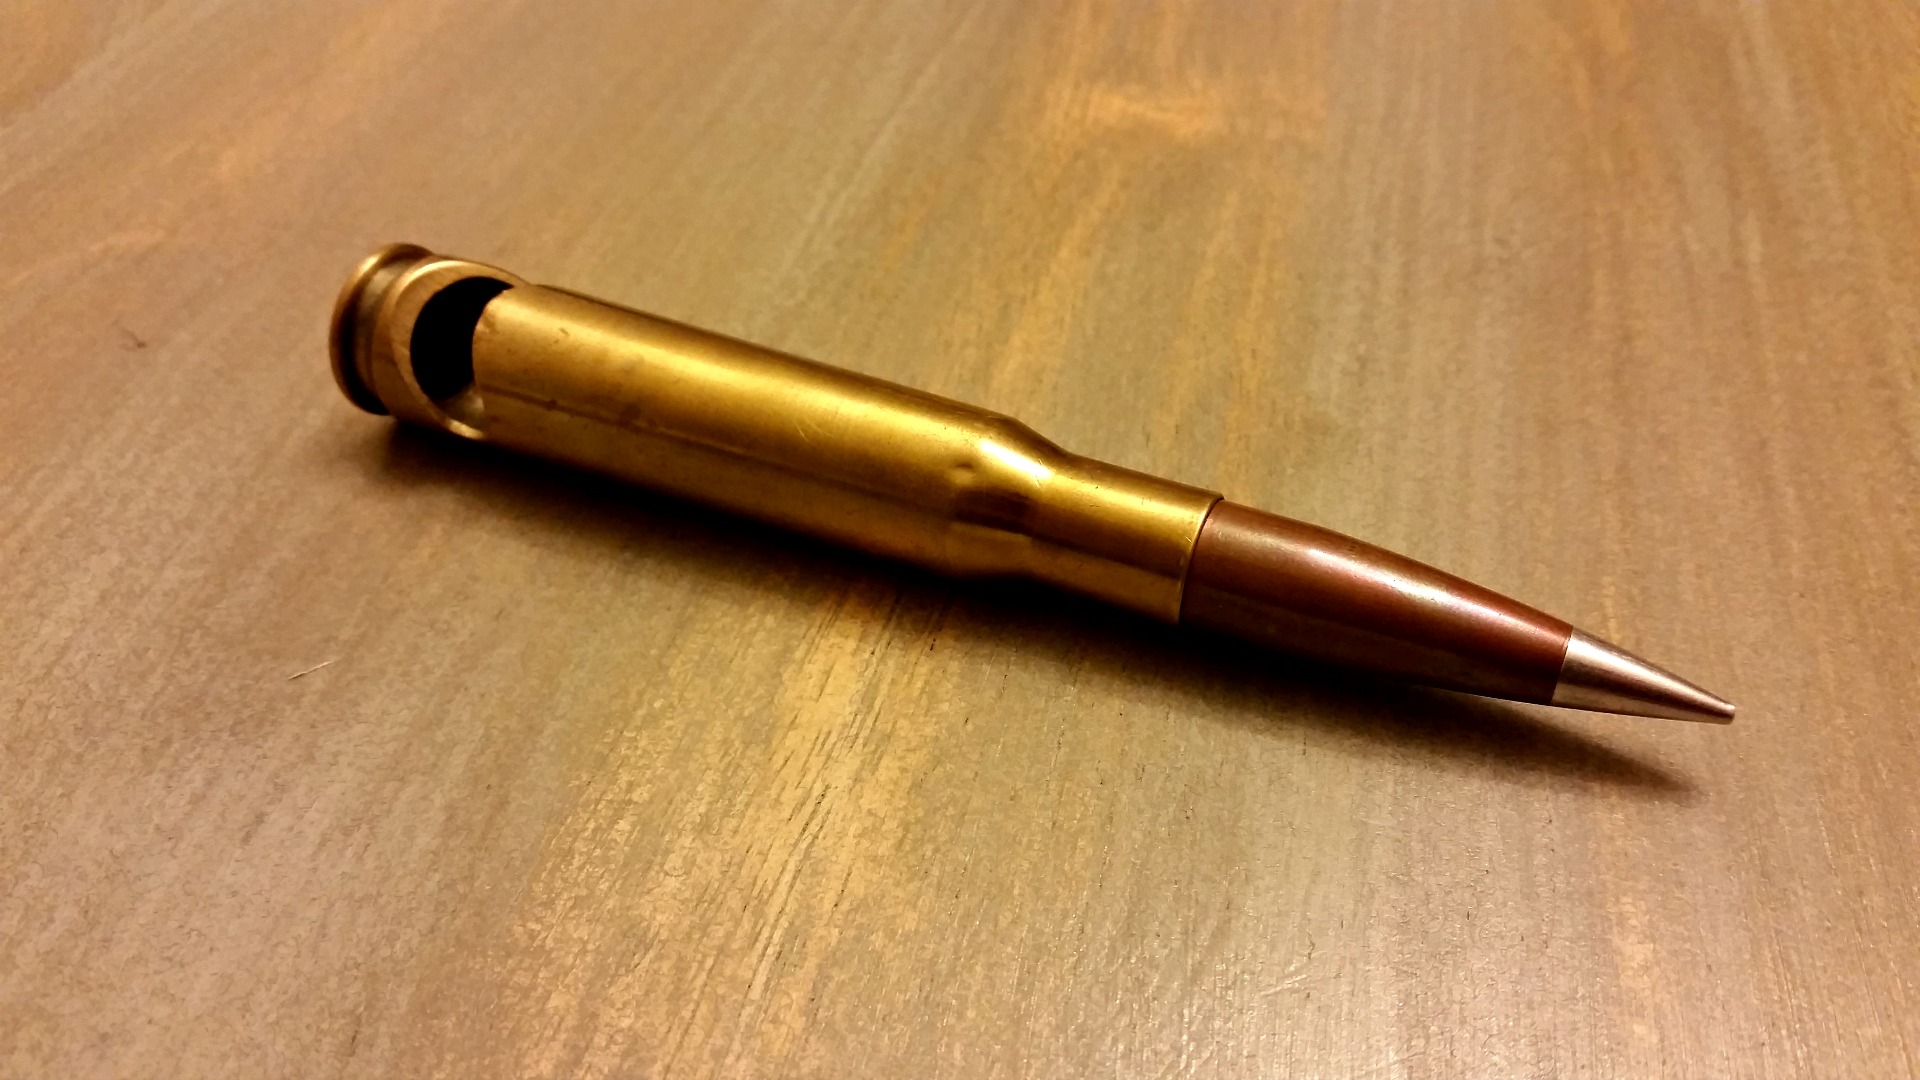
It's hard to find a cooler bottle opener than this .50 cal case from Gunworks.
It’s hard to find a cooler bottle opener than this .50 cal case from Gunworks.

A barbecue lighter shaped like a shotgun may not get someone’s juices flowing, but a bottle opener made out of a .50 cal. case with a 750 gr A-MAX projectile seated in it might just get the right reaction. Yeah – 750 grains – that’s four to five times the average .308 projectile weight. My wife and I got one for my father-in-law last Christmas – and I liked it so much I got myself one too. The brass is obviously softer than bottle caps and will mark after use, but hey, it looks so freakin cool. You can get them from Gunworks in Christchurch, and because it’s not live ammo it can be sent anywhere. They have other options too.

Another cool ammo-looking option can be cuff links. These can be done poorly or very well, so be selective. The imitation 12-gauge cuff links my wife got me are not only well made, but look pretty damn good too.

A magazine subscription

If you’re significant other or best friend has a hunting magazine lying around but they don’t have a subscription to it, that could be a great option. Look for the subscription page and photocopy or scan it, or find the magazine’s website. It’ll be pretty obvious if you tear out the page…

Make sure to take a picture of the product code so you can find what you need at the store.

While everything and anything can be found on the internet, gun magazines are a great way for shooters to enhance their knowledge of local shooting spots, new equipment or competition results.

Reloading supplies

Well, you can’t buy ammunition for your partner if you don’t have a licence, but if they reload, you can buy them everything they need to make their own. You’ll still need to have ID, as primers and powder are explosives.

How do you know what to get? Go over to their shooting bench and see what’s running low. Make sure to take a picture of the item or the product code to show the guys at the gun store. Also, make sure to shop around. When you’re spending near a hundred bucks on projectiles or a box of primers, looking at different websites or stores can save you around 10 per cent.

Projectiles running low? Gift idea right there.

Should I clean my .22LR barrel?

There are many opinions, myths and vagaries about rifle cleaning. Some will tell you to clean and polish your bore after every trip to the range, others will tell you cleaning your rifle is a waste of time or a bore snake will do the trick. However, one thing’s for sure – maintaining your .22 is completely different.

What’s the difference?

Whether it’s rimfire or centrefire, some fouling is often needed to get a barrel shooting to the same, reliable point of impact. Lead rimfire projectiles are much softer copper-jacketed bullets, doing minimal damage to the bore, and the lead deposits left in the barrel don’t do any harm either. Copper not only wears down the barrel, but leaving it in the bore can lead to quicker deterioration of the rifling after subsequent shots.

So, the question then becomes – if fouling is good and lead isn’t harming your barrel, why would you clean your .22?

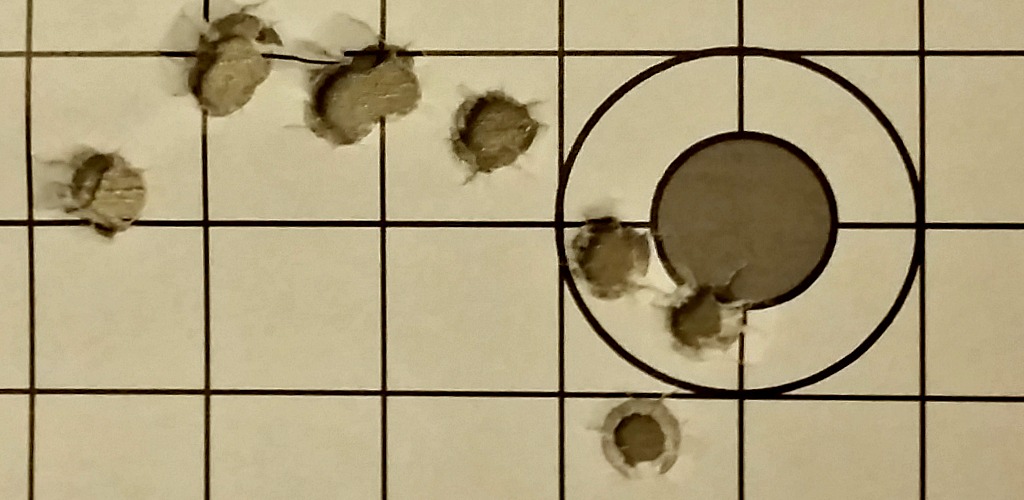
This picture shows how a clean barrel walks to its point of impact once it fouls up.

How often to clean your .22LR barrel

I don’t personally clean my barrel very often. The standard is “when accuracy starts dropping off”. And to be honest, I’ve never got to that point. I give my .22 a couple pulls through with the bore snake and some Hoppes No. 9 after a couple thousand rounds – give or take a few. But, lead crud is nasty on the action.

I mainly shoot bolt action when I’m shooting rimfire, which means I can feel when the bolt starts getting stiff or it doesn’t feed nicely. Semi-autos tend get gummed up a bit more, as gasses from firing come back into the action. What to do? Use some bore solvent and angled brushes, cotton swabs or cloth to clean the gunk out. Every now and then disassembling the bolt or action could be necessary to ensure reliable functioning. Some shooters also like to clean up the crown, however, I shoot with a suppressor, so I’m not super-fussed on that score.

If you have any questions or tips for cleaning your rifle – share them in the comments below.

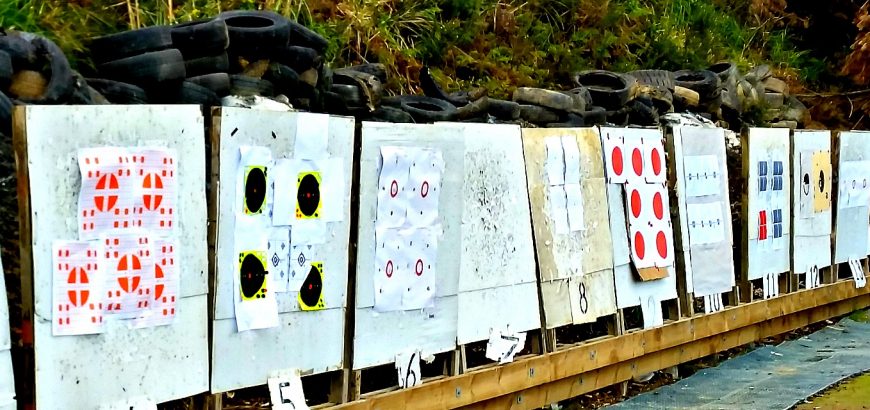
NZDA Auckalnd Branch range target boards.

Where to shoot in NZ: Auckland Branch NZDA Range

The New Zealand Deerstalkers Association is one of the organisations that helps shooters and hunters in this country by providing facilities, as well as speaking up for us collectively when there are political issues that may affect our sport. With branches all over New Zealand and a culture that is inviting, it’s always worth checking out your local branch to see if membership is for you. However, if you’re just after a casual shoot or you need to sight in your rifle or test your reloads, the Auckland branch has a fantastic range you can access most weekends.

Access to the Auckland NZDA Range

The Auckland Deerstalkers Range is located in a working forest, and is accessible only at certain times during the day. This makes it essential to check the range calendar to find out when general practices are on, and what time the gates will be open. If there’s an organised shoot on, you will be turned away – so save yourself the hassle by checking the NZDA website or getting in touch with them.

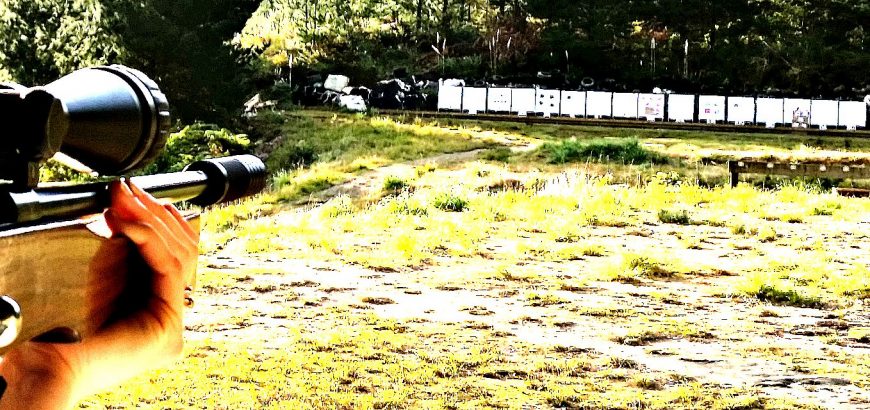
The NZDA Auckland Branch is an ideal place to test reloads.

There is a morning session and an afternoon session. I would recommend aiming for the afternoon timeslot, as there are generally fewer people around, which means more shooting for you. It’s still a busy range though, and safety is the number one priority. There are a few range officers on at any given time, and they are give you very clear instructions.

Shooting at the Auckland NZDA range

Shooting at this range is a real pleasure and is ideal for sighting in or testing reloads. There are a row of benches to shoot from, with plenty of room to store your gear. There are also gun racks behind the shooting line if you have more than one rifle. If you want to shoot prone, sitting, kneeling or standing, you can shift your bench over a bit and go for it.

Because the range is located in a working forest, there is no smoking at all – so keep that in mind if you’re fiending for a smoke after a couple hours, because there are controlled entry and exit times and you’ll just have to hack it. This also means no tracer rounds, and obviously no incendiary rounds or anything crazy like that. The backstop for the targets is a pile of old tires – about 14 tonnes of rubber – so setting that alight would probably be a bit of a problem…

The shoot is quite organised, with a detailed safety briefing beforehand. There are 25, 50 and 100 metre ranges that run at the same time. The 50 and 100 metre targets are shot off the same mounds, while the 25 metre range is separate. There is also a 200 metre mound, but when this is in operation all of the other ranges have to be shut down as it is behind them.

Shooting is done in ten-minute sets. You set up your targets, get ready and when everyone has their ears on, the range is ‘live’. You then have ten minutes to do your damnedest, after which ceasefire will be called. At this point everyone makes their firearms safe and steps away from the benches. The ROs check the rifles and when everything is deemed clear, shooters can go forward to assess and patch their targets. There are targets available for 50 cents each if you don’t have your own, and there are generally staple guns floating around. Try and take your own stapler if you can. For anyone intending on spending a decent amount of time at the range, a staple gun is a good investment. I use duct tape when I don’t have one on hand, but it’s not nearly as quick.

The afternoon (or morning) continues in ten minute increments until time is up – which seems to be much sooner than you want, but hey – time flies when you’re having fun.

A chamber safety device (CSD) is compulsory on the range.

The cost and experience

The NZDA range is located about 25 mins outside of Auckland city, and it took me just over 40 mins from East Auckland. The cost is $20 per shooter – a very reasonable sum. Bear in mind, this is not an organised club shoot, but rather an open practice day. Don’t turn up without a rifle expecting to shoot. If you don’t have your own firearms and would like to give shooting a go, you can get in touch with the NZDA via their website and arrange attendance at a club shoot. Otherwise, there are plenty of clubs in Auckland where you can give shooting a go. If you’ve never fired a rifle before, try starting off with smallbore first to get your bearings.

The range officers at the NZDA are friendly and knowledgeable, and very safety conscious. All of this adds up to a good shooting experience in my books, and I would recommend this range to anyone looking for a good way to spend a Sunday afternoon. The shooting mounds are covered, so weather isn’t a huge factor. If it is pouring with rain, your targets will be worse for wear. The rest of the facility is outdoors though, so unless you are shooting or on the benches behind the shooters, you’ll probably have to sit in your car to stay out of the weather. While it doesn’t have all of the trappings of an indoor range (like plumbing or coffee facilities), it’s certainly a good way to enjoy shooting.

If you’d like to tell us about your experience at the NZDA Auckland Branch range, or would like to find out about other shooting facilities in Auckland, leave a comment below.