Modified M38 bolt.

Why I will never use my safety

If you’ve gone through the effort of getting your firearms licence, you’ll have come across seven neat rules that should dictate the way you handle guns for the rest of your life. These are the foundation of the arms code and are as follows:

Rule 1: Treat every firearm as loaded
Rule 2: Always point firearms in a safe direction
Rule 3: Load a firearm only when ready to fire
Rule 4: Identify your target beyond all doubt
Rule 5: Check your firing zone
Rule 6: Store firearms and ammunition safely
Rule 7: Avoid alcohol and drugs when handling firearms

You’ll notice, not one of these is “apply the mechanical safety on your firearm”. Why is this? Mechanical objects fail due to wear and tear, extreme conditions and pure bad luck. If you’ve read the instruction manual that comes with your new rifle or shotgun (highly recommended activity), you’ll notice that while new and improved safeties are always created for weapons and mentioned in these manuals, they usually discourage you from relying solely on these little switches.

How does a safety work?

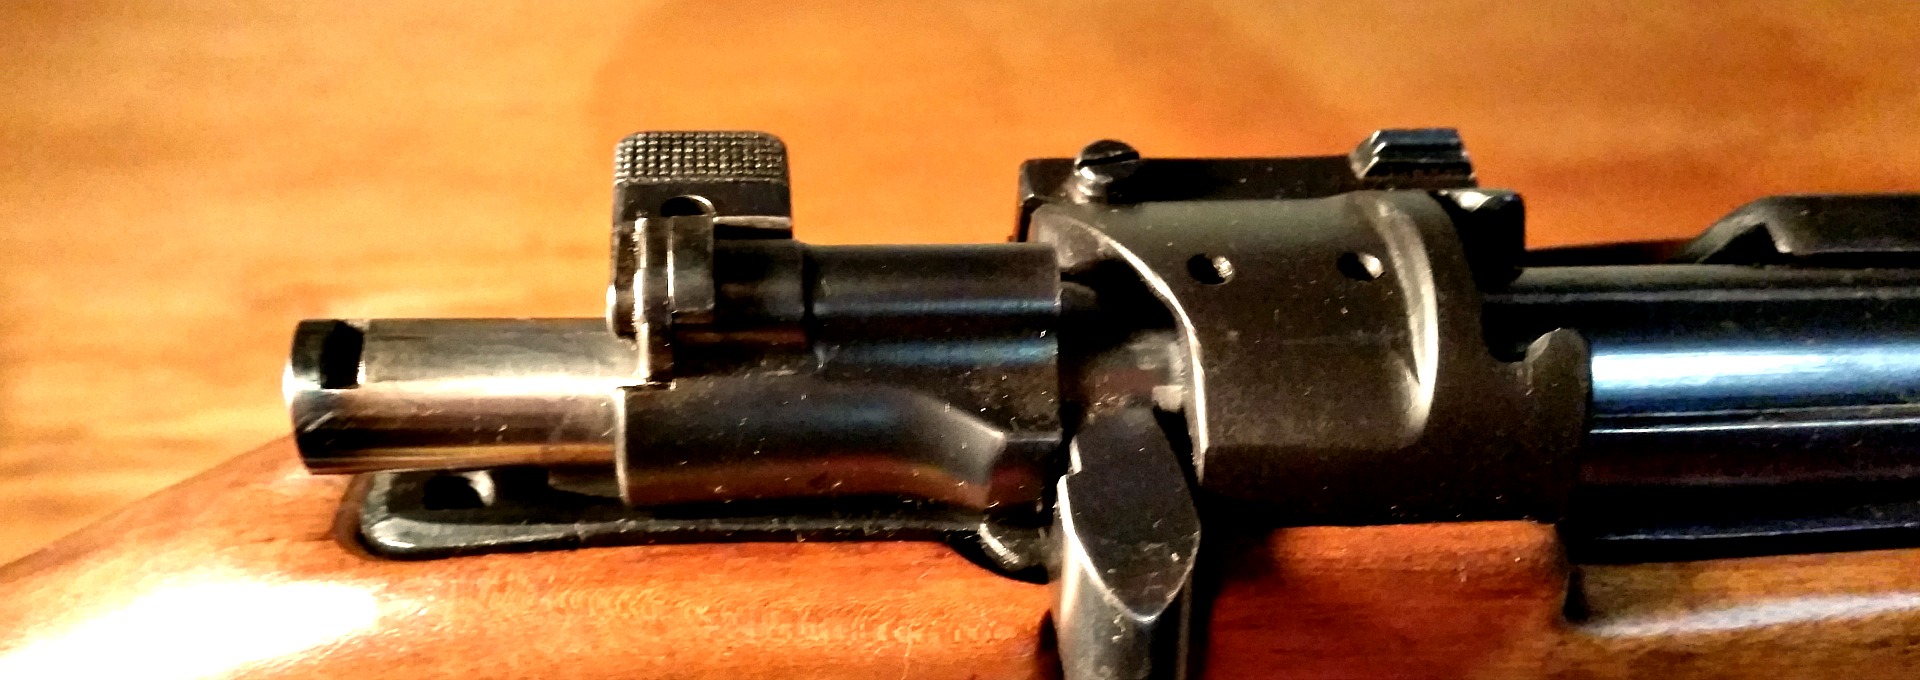
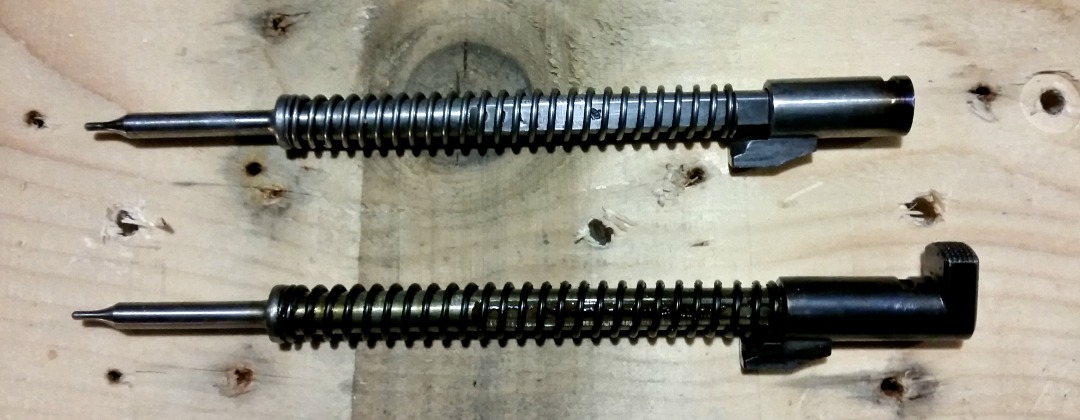
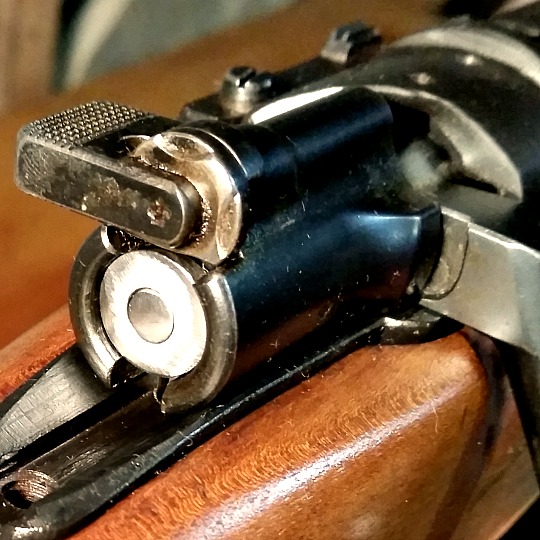
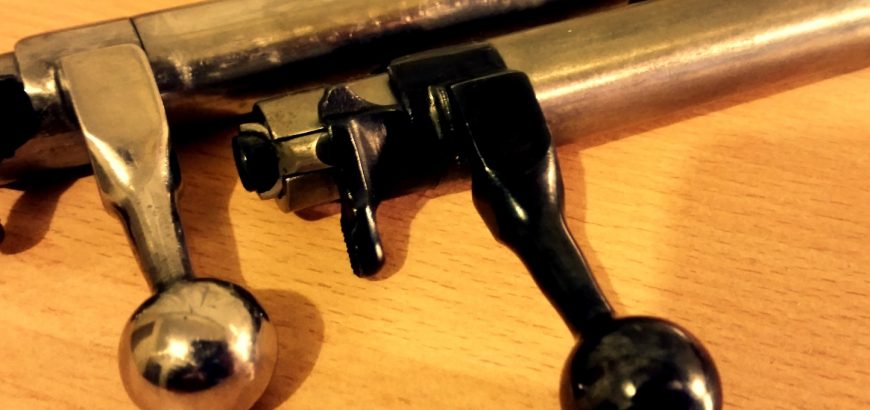
There are two ways that most safeties work. The first is that they block the trigger from being pulled back, or even disconnect the trigger mechanism. The other is that they block the striker or hammer from moving forward and contacting the firing pin. There are many, many other types of safeties, and they can be in different places on your firearm, but they all have one thing in common – they are small bits of material upon which a large responsibility hangs.

That is why you never rely solely on a safety. Now – this my preference – I prefer not to use the safety at all. Some ranges will require your safety to be applied, and that’s fine. But, I personally don’t want to build up a reliance on a little switch.

What do I do instead?

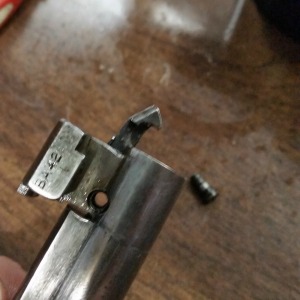
When on the range and not using the rifle, I have it pointed in a safe direction with the action open, magazine out (or empty) and a breech flag in the chamber. This indicates to everyone that firearm is unloaded and safe.

When carrying a firearm to or on the range, same applies. Magazine out or empty (if fixed), and safety flag in or thumb in the chamber – muzzle pointed in a safe direction.

When firing on the range – well, you’re firing. What good is a safety when you want it to go bang?

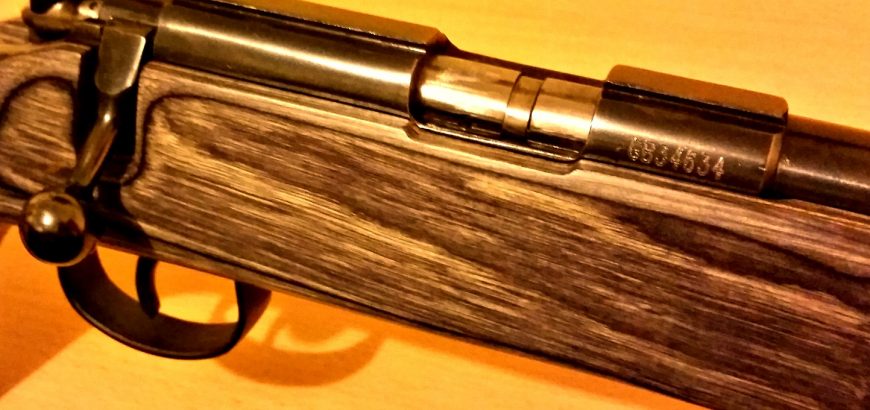
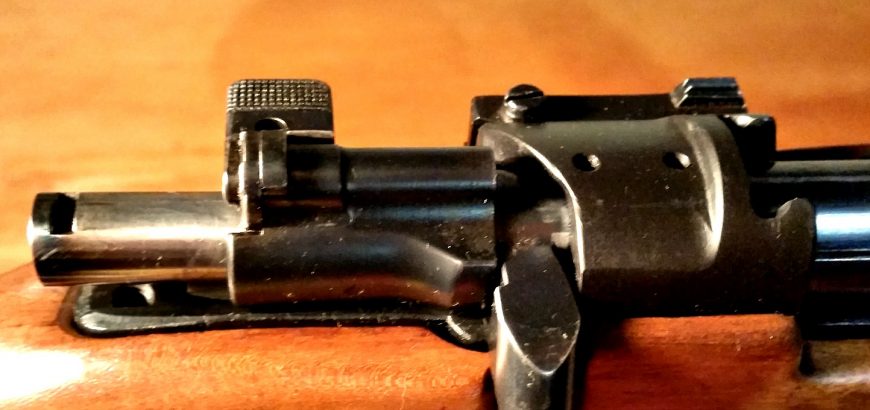
When carrying a rifle in the field… This is where it gets a bit tricky. I leave my ammunition in my pocket, as well as my bolt if it’s a bolt action, until I’m near where I want to be shooting. When I am in the area in which I want to shoot, I fit the bolt (or close the action on a semi), and load the ammunition.

At this point, I do not chamber a round. I close the bolt on an empty chamber by pushing the top round down with my thumb or inserting the magazine on a closed bolt. When you’re ready to line up your shot, rack the bolt and get ready to squeeze the trigger.

If your quarry eludes you – drop the magazine out and remove the chambered round. Double check to see there’s nothing in there and close the bolt on an empty chamber before inserting your magazine again. Or, push the top round down on your bolt action.

This is just my personal procedure – you may have different feelings on the matter, or experience to the contrary. Leave a comment below with your tips on firearm safety.

Check out the arms code here.

Should I clean my .22LR barrel?

There are many opinions, myths and vagaries about rifle cleaning. Some will tell you to clean and polish your bore after every trip to the range, others will tell you cleaning your rifle is a waste of time or a bore snake will do the trick. However, one thing’s for sure – maintaining your .22 is completely different.

What’s the difference?

Whether it’s rimfire or centrefire, some fouling is often needed to get a barrel shooting to the same, reliable point of impact. Lead rimfire projectiles are much softer copper-jacketed bullets, doing minimal damage to the bore, and the lead deposits left in the barrel don’t do any harm either. Copper not only wears down the barrel, but leaving it in the bore can lead to quicker deterioration of the rifling after subsequent shots.

So, the question then becomes – if fouling is good and lead isn’t harming your barrel, why would you clean your .22?

This picture shows how a clean barrel walks to its point of impact once it fouls up.

How often to clean your .22LR barrel

I don’t personally clean my barrel very often. The standard is “when accuracy starts dropping off”. And to be honest, I’ve never got to that point. I give my .22 a couple pulls through with the bore snake and some Hoppes No. 9 after a couple thousand rounds – give or take a few. But, lead crud is nasty on the action.

I mainly shoot bolt action when I’m shooting rimfire, which means I can feel when the bolt starts getting stiff or it doesn’t feed nicely. Semi-autos tend get gummed up a bit more, as gasses from firing come back into the action. What to do? Use some bore solvent and angled brushes, cotton swabs or cloth to clean the gunk out. Every now and then disassembling the bolt or action could be necessary to ensure reliable functioning. Some shooters also like to clean up the crown, however, I shoot with a suppressor, so I’m not super-fussed on that score.

If you have any questions or tips for cleaning your rifle – share them in the comments below.

JW-15 in Boyds laminate stock.

Custom rifles vs Factory rifles – who wins?

Let me preface this by saying… How long is a piece of string? If you’re looking for the definitive guide on the all-time showdown between factory and custom rifles, you’ve got a long wait ahead of you. There’s no way to say one is categorically better than the other, but depending on your needs, one will suit you more than another. Here’s a quick run down on the two options.

Custom vs “Custom”

Well, maybe there are three options. There are rifles that are custom built by fantastic gunsmiths, or even several different people (i.e. barrel manufacturer, suppressor builder, stock maker, etc), and they can run into the tens-of-thousands of dollars. Chances are you’re not comparing a $35,000 rifle built on a Surgeon action to a Weatherby. So, realistically, these types of custom rifles fall outside of the scope of this discussion.

There are even the customised Remington 700s, Sakos and others you can buy direct from a gun store, which have been assembled with a host of accessories and a non-factory stock, etc, which offer “custom” rifles at lower costs and with a lot less effort. This a kind of middle-ground which, again, falls outside of the debate of custom vs factory.

Factory rifles

There are a host of incredibly good choices out there when it comes to factory target or hunting rifles. And the fact of the matter is, with modern production techniques and better quality control standards, many of these rifles are incredibly accurate out of the box.

Sako guarantees the Tikka T3 line to produce an MOA 3-shot group out of the box, and they boldly make the same claim with their T3 varmint and tac and 5-shot group. That’s pretty impressive. However, that doesn’t mean your new Tikka T3 Lite in stainless/synthetic will do that with any ammo you feed it. Bear in mind, Sako tests rifles with ammunition they produce themselves.

So, you may need to find just the right brand of ammunition, or even reload your own to get that level of accuracy.

The great thing about factory rifles is that if you look after them and keep track of how many rounds you put through them, you’ll generally get a pretty good resale value if you decide to switch calibres or clean out the safe down the line. Selling firearms is just foreign to me – I want more, not less – so I couldn’t really relate personally. However, for some, it’s a major benefit.

Another aspect of factory rifles, and this is one that I can understand, is that you have warranties and guarantees form manufacturers and retailers. If something goes wrong with a stock-standard rifle, you’re usually okay. Again, this comes down to incredibly efficient modern materials and processes – a lot of manufacturers are so confident, they will give you a lifetime warranty, even with their base models.

Custom rifles

A lot of firearm owners like to try and get more for less. They’ll buy a rusty old milsurp and try restore it, or even convert a P14 action from .303 to a .338 Lapua long-distance shooter. It’s this undeniable urge to make something better and more accurate – but cheap.

Many people try, and many people fail. The old adage “cheap, accurate, reliable – pick two” still stands true. However, not all is lost. Many backyard tinkerers find that they learn more about gunsmithing, rifle maintenance and internal or external ballistics by working on their own firearms than if they bought an out-of-the-box MOA-shooter. It gives you a more holistic view and respect for firearms, and generally makes you a better shooter. The more you know about how your rifle works, the better you can work with it.

Modified Mauser bolt action.
This modified Mauser bolt action was a lot more work, but is a joy to shoot.

What I have found with my own projects, from JW-15s to Swedish Mausers, is you’ll probably spend enough money in the end to have bought a tack-driving factory rifle. So why would you do it?

  1. The initial outlay is low. Three or four hundred for an M38 in 6.5×55 which might need a lot of work to be great, but at least in the meantime, it’s still good.
  2. It’s a project. If you yearn to create your own sub-MOA rifle and constantly look up the latest Boyds’ rifle stocks or DPT muzzle devices, then this probably for you.
  3. It’s unique. Hey, it’s the gun you built, not the one Howa, Marlin or Remington made. There’s a certain amount of pride in this, and you can make it look and feel the way you want.
  4. Individual needs. Hey, if you need a bush gun – cut down a .303. If you want an odd-looking F-Class gun, try your hand at “improving” an old Mauser. The best part is never feeling bad about cutting into the steel – coz it only cost $250.

Who wins?

Well, if you want a reliable, dependable and accurate rifle to take hunting or to the range, you could go and get yourself a Tikka T3 Lite in stainless/synthetic for less than $1200. Chances are your home-improved P14 or Model 1896 is going to end up costing you more with a new/improved stock, bedding, barrel and chambering, suppressor, bases drilled and tapped, etc, etc.

floor metal
Floor metal from 1943 looking fresh and ready to go.

However, if you want something unique that you can enjoy working on for months – or even years – pick up a donor action to work with. Even an older (pre-1964) M70 or Remmy 700 is fun to use. And the best part is if you buy a complete milsurp, you can probably enjoy shooting it “as is” to start with for very little outlay.

I’ve heard many Tikka T3 owners say their rifle is “boringly accurate”. And that is high praise for any manufacturer. So, at the end of the day, if you want to drill tiny holes into paper or leave gaping exit wounds in deer at 400 yards – get the factory rifle. If you want to feel like you earned your way to shooting sub-MOA or making long-distance kills, a project might be on the cards.

Modified M38 bolt.

Mauser bolt modification

Spend any time exploring gun forums and corners of the internet dedicated to military surplus firearms, and you’ll quickly encounter the opinion that Mauser’s bolt design is the standard by which all other bolt actions should be judged, and that most subsequent “improvements” were purely cost-saving modifications.

As a big fan of the small-ring Mauser variants, especially in the super-accurate Swede, it was only a matter of time before I started pulling apart my Husqvarna M38 to see what I could improve. Most Mauser bolt mods are bent handles to allow for scope clearance – something which has been covered ad nauseam all over the place.

So, instead of going over the same ground about oxy-acetylene torches, vices and hammers to get your military Mauser into sporting condition, I’m instead going to look how to reduce lock time by shaving some material off the cocking piece and firing pin. As always, remember that modifying your firearm is dangerous/irreversible/stupid, etc.

What is lock time?

Lock time is the minuscule period of time between when you pull the trigger and when the firing pin crushes the primer to set off the powder inside the cartridge. In other words, how long it takes the firing pin to travel to the primer from the time it is released by the pull of the trigger and the disengagement of the sear. The term lock time comes from the age of muskets – flint locks and wheel locks – the time it it took for the lock to work.

Essentially, the longer the lock time, the more likely it is that the shooter’s natural movements will move the rifle off target. The other period of time that is quite significant is how long it takes the bullet to leave the barrel, as again, the shooter can move slightly during this time.

So, naturally, it’s in a shooter’s best interests to have as short a lock time as possible. Modern bolt actions are incredibly quick compared to old military surplus rifles, and the chief ways in which lock time can be decreased are through eliminating excess material which causes resistance, friction or drag, and making modifications to the main spring, or replacing it and/or the firing pin. There are a few “speed lock” products out there, which are kits aimed to help you reduce the length of travel of the striker, and usually the trigger pull as well. Often, they will also convert your cock-on-closing Mauser to a cock-on-opening action.

Personally, I quite like the cock-on-closing action on older rifles, as it allows you to “feel” more of the chambering and extraction process – a real plus for reloaders.

Removing material

This is something you can’t afford to do wrong, especially if you’re working on a rifle with hard-to-replace parts. Fortunately for me, I had recently bought a replacement bolt due to a different issue and had some good parts on the old bolt to work with.

If you’ve spent any time on Mauser-related forums, you’ll have come across Dutchman, or Dutch. A very knowledgeable gentleman with his own website dedicated to everything Mauser. I came across one of his posts, in which he showed the modifications that were made to cocking pieces and firing pins in order to produce the bolts for the super-accurate CG63s and CG80s. With this as inspiration, I set off on my own bolt-modification adventure.

I removed the thumb piece on the back of the cocking piece to reduce weight and drag, and made the firing pin short enough to match. As you can see in the picture below, the previous owner of this rifle cut down the main spring to decrease cocking effort on the rifle, but this can lead to unreliable firing and pierced primers, so I’ll be swapping that spring for the one on the blued bolt I recently bought.

Modified Mauser firing pin.

As you can see in Dutchman’s post, there is more material that can be removed in order to reduce friction, as he shows some rifles with scalloped bolt sleeves. Whether I attempt this or not is still yet to be seen, I’d like to see the difference this makes first before going any further. The sear engagement on the cocking piece can also be altered according to his pics, but it looks like a welder would be needed to reinforce the sear engagement section. There’s also the fact that you’ll need to case harden this section again, as a cut-up sear piece will quickly wear away, creating a dangerous firearm.

I’ve opted to leave this bit for now, as I’m planning on replacing the factory trigger with a Timney trigger in the near future. I want to see what it’s like with the new bang button, before I go and make any permanent changes.

It’s all about the looks

The flush fit of the cut firing pin is much more attractive than the thumb piece.

Well, not all about the looks, but it does play some part. I’ve got to admit, the cut down cocking piece looks a lot more modern and svelte than its military-style counterpart. I’ll take this opportunity to remind you that this rifle was not in collectors condition when I got it from the previous owner, so it is purely a project – no one is cutting up a pristine M38 here!

Another thing I wanted to do was break up the solid black of my rifle. The “new” bolt I bought had been blued and combined with the matte black paint job I did on the action and barrel, it was starting to look pretty boring. For a bit of contrast I took the un-blued extractor and extractor collar from the original bolt and added it to my new hybrid monster. The end result is a little bit of flair, with no real practical relevance. Be warned though, that while the extractor is easy enough to remove, the collar does not spring back into shape nicely for you to put teh extractor back on. You’ll need to hold it shut while sliding the extractor over – which isn’t easy without the armourer’s tools. I used a pair of circlip pliers, which while tricky to do, managed the job in the end.

The blued bolt body creates a contrast for the polished extractor and extractor collar.
No.1 Mk iii extracting Mk 7 round.

303 SMLE bolt stiff on extraction

Getting my own .303 was a dream come true. It’s a cartridge and rifle with a storied history and a pretty good performance, even by modern standards. What I was particularly looking forward to was the “buttery smooth” action I’ve heard so much about. But mine wasn’t. After removing a good deal of rust and gunk from this historic weapon, I headed down to the local service rifle club to have a shoot. The results were less than spectacular.

I didn’t have much ammo on me at the time, and was primarily going to shoot my SKS and M38, but I did want to put at least half a mag through my brand new (to me) No. 1 Mk iii SMLE. The rifle printed high and to the right, but still in a very tight group with the surplus CAC Mk 7 ammo I had on hand. The elevation was due to shooting at 100 yards with the 200 yard (minimum) setting, so I was fine with that, and it appeared the front sights were off a bit to the right. Not a major.

.303 bolt face, extractor claw and screw.

But getting those empty rounds out was difficult. I couldn’t stay in a shooting position and had to use two hands. My thoughts were it needed some cleaning after a long period of disuse. When I got home some quick research on the internet turned up a few that thought it could be due to fouling, so off I went to the garage to get some cleaning done.

One month later with a box of brand new Prvi Partizan .303 I went down to Taupo NZDA range to get the long guns out. After enjoying drilling tight groups with my Husky, it was a bit of a let down to pick up the Enfield and experience the same issues as before. I hadn’t changed the sights, but compensating worked fine. But still, every round was a real hard task to extract. My wife had a few shots and enjoyed the rifle, but didn’t enjoy the experience because of the tough-to-open bolt. I was crestfallen all the way back to Auckland, thinking I had managed to buy a dud surplus rifle.

What the issue actually was

So this time I took to cleaning with fervour. I disassembled the extractor and bolt face, gave everything a thorough degreasing and a light coat of Ballistol. Determined to not have the same issue again, I gave all of the bearing surfaces a generous application of oil and attempted to chamber a round. No problem. Extraction? Problem.

What?

Bolt face with extraction claw slightly pulled out.

This was beyond frustrating. I then took a closer look at the extractor claw and saw that it had become quite sharp after (many) years of use. So I undid the extractor screw, pulled the extractor claw out a bit (not all the way – that V-spring is a pain), and gave it a very light rounding off with a fine file. Extraction seemed to improve.

After three more delicate treatments like this, the bolt is now working like a charm. Now I’m actually looking forward to having a shoot with it again!

P.S. If you’ve got the same problem and want to try this fix, remember that you could damage your rifle – which as we all know can have serious consequences. Take it to a professional gunsmith if necessary.

Also, do not try chambering and extracting live rounds unless you are at a range, pointed in a safe direction. At all other times use a dummy round that you have made yourself, or buy a cheap practice round – they’re about $20 for two.


JW-15 bolt with and without factory bluing.

Removing bluing from your rifle

Bluing does a couple things for a rifle. It provides some level of protection against the elements, and it helps achieve a classic styling that other coating systems can’t achieve. However, there are some situations where you might want to remove the bluing from your rifle, including polishing your steel to a high shine, or preparing your rifle for another type of coating.

You can strip the factory bluing off your rifle with a very rudimentary list of kitchen/garage supplies. Here’s a look at this simple process:

1. Completely disassemble and clean firearm

Every metal part that you are going to be removing bluing from needs to be detached from the firearm. For my last project I removed the bluing from the floor metal, trigger and bolt handle. Even if you are doing your entire rifle, it still needs to be taken down. And I shouldn’t need to say this, but make sure the thing is unloaded before you do anything.

Once you have all of your bits and pieces ready, do a thorough degreasing with brake cleaner, degreaser, dish soap and water or something similar.

2. Time to get cooking

So, there are blue removal products out there made by many fine manufacturers. You could even try sandblasting your parts if you have the equipment. However, the method I’m going to focus on is cheap, reliable and effective – and probably better for the environment too. Instead of using harsh chemicals, you can simply use a couple bucks worth of vinegar.

Most people say to just leave the parts in vinegar for 30 minutes, check to see if the bluing has been removed, rinse and repeat until done. What I like to do is to heat the vinegar in the microwave (with no metal parts in it) until almost boiling. Try not to breathe it in as you move the dish to the garage, as it’s acrid and will set you off coughing. Nasty stuff.

Drop your parts in the hot vinegar and watch as the bluing literally bubbles off of the metal in spectacular fashion. It will only take a few minutes before you notice changes in the colour of your metal. When the metal looks clear, pull it out so you don’t start it oxidising again.

If you’re doing a barreled action you probably won’t have a big enough container to completely cover it in vinegar. What you can try is wrapping it in paper towels soaked with vinegar. This may be a little slower and could require a bit of extra cleanup to get it just right.

3. Attack the metal

So now you have some bare steel completely free of bluing and rust. Make sure to thoroughly clean and degrease again, removing all traces of bluing, vinegar and anything else that shouldn’t be there. Now it’s time to pull out the ultra-fine sandpaper and steel wool, and remove all of the factory imperfections and slight bluing residue that you can spot.

It’s your call from here. Some people like to coat their firearms with ceramic or paint-on applications, while others like to try more exotic metal finishes. I’m a big fan of matte colours on rifles – usually black. For firearms that spend 99 per cent of their time on the range and seldom see adverse weather or bush conditions, you can afford to go for looks over protection.

My JW-15 which is only used at an indoor smallbore range, has had the bluing removed from the bolt handle, trigger and floor metal as mentioned above, and was polished thoroughly with autosol. I do have to make sure the humidity level in my safe is under control and that the metal surfaces are oiled when not in use for long periods, but realistically I find that the same applies to my factory blued firearms. I’ve got to admit though, that shiny metal is pretty sexy!