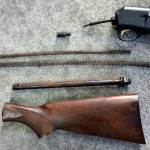
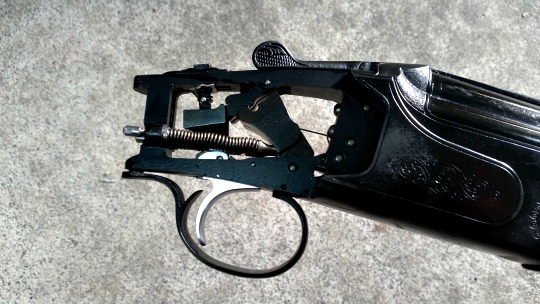
If you’re more familiar with the build of a bolt action rifle, removing a shotgun stock can be puzzling at first. No obvious action screws and a bunch of stuff hidden inside. Here’s a quick run down on replacing a shotgun stock.
Step one: Remove the recoil pad
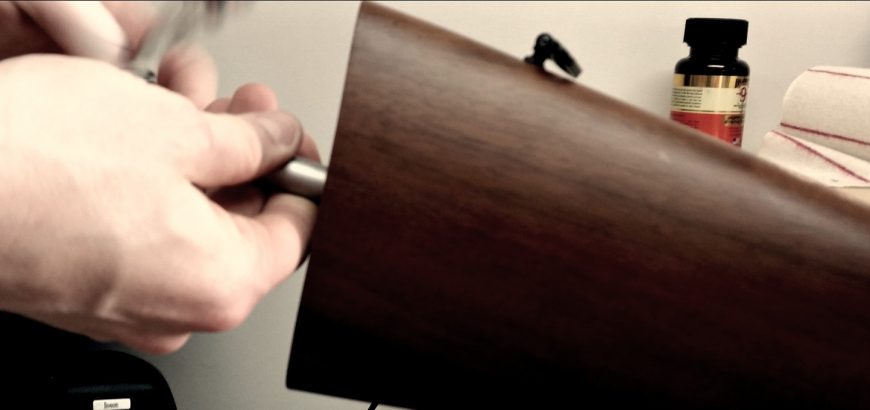
The reason you can’t see any action screws holding the wood to the metal is that you have one long bolt hidden in the buttstock that keeps it all together. Removing the recoil pad will reveal a hole in the centre of the stock, through which you can access that bolt.

If the screws holding your recoil pad to the stock are hidden in the rubber and you can’t see what tool to use, try a Phillips head screw driver. Most manufacturers still use these.

Step two: Remove the stock bolt
These are usually pretty easy to remove, and all you need is a socket wrench with appropriate extensions and the correct size socket. Trial and error will help you find the right socket size, as each firearm is different.
Because these bolts are not overly tight, the slight differences between imperial and metric should not be too much trouble.
CAUTION: If you’re working on a semi-automatic shotgun, there are a lot of parts (including springs) that will shoot out if you do not hold the stock and action together and carefully remove the bolt and other pieces. Watch how they come out, as you’ll have to put it back together.
Step three: Do whatever it is you were going to do
This is the part where you clean your action, replace your stock, repair any cracks, or whatever it is that motivated you to remove the stock in the first place.
Step four. Reassemble
Putting it all back together is pretty simple, especially for U/O, SxS and pump-action shotguns. If you’re working on a semi for the first time, I hope you paid attention when you took all the bits and pieces out, or you may end up with a click but no bang the next time you go out shooting.
There may be some fining up to do at this point. If you’ve replaced your buttstock, you may have to grind the old recoil pad down to size, or you might want to use some sawdust, stain and oil to fill up fine gaps between the action and the replacement stock (if necessary).

Step five: Function test
With an empty chamber or dummy rounds (snap caps), test the firearm for function. This means loading, firing and unloading. This is the time you want to find out about it. Not in the blind or on the range.


G’day
so i’ve taken my boito 12g u/o apart at the action but now i can’t seemto get it back together right. do you know how to do this, or how i can get a copy of a manual for a boito shotgun, i’ve tried to find one online to no avail…
Hi Daniel,
Boito is a hard one to try and get a manual for. Even if you did, it probably wouldn’t have assembly instructions in it…
Most O/U shotguns are built the same in the butt stock area, so it should be a case of simply bolting it back in. Could you provide any further detail on how it is not fitting together properly? Or if you have photos of all the parts and what’s not working, you can send to info@gunrack.co.nz.
Cheers
Can you make short Gun Stock?
Hi Nuru,
If you’re asking if I can make a short gun stock for you – I don’t do any stock making or gunsmithing myself. If you are in NZ or Australia I can import a Boyds stock for you with custom Length of Pull.
If you are asking if it is possible to shorten a shotgun, yes, it can be done. With a semi auto shotgun, be aware that the recoil system goes into the butt, so you will need to take this into account. For many manually operated shotguns you will still need to customise the length of the bolt that keeps the stock attached to the action.
CHeers